Suldanessellar is an elven city in the Forest of Tethir.
Backstory[]
The city is ruled by Queen Ellesime and houses the Tree of Life. It's a meeting places for all elves and their tribes and heavily protected from outsiders so that the few entrances to the city are all warded.
Plot[]
In Baldur's Gate II Chapter 7, Gorion's Ward enters the elven city and finds that it has been infested with powerful enemies that Jon Irenicus has unleashed, and that Jon himself is absorbing power from the Tree of Life. The player needs to get the necessary items to enter the palace and then find, and defeat Irenicus.
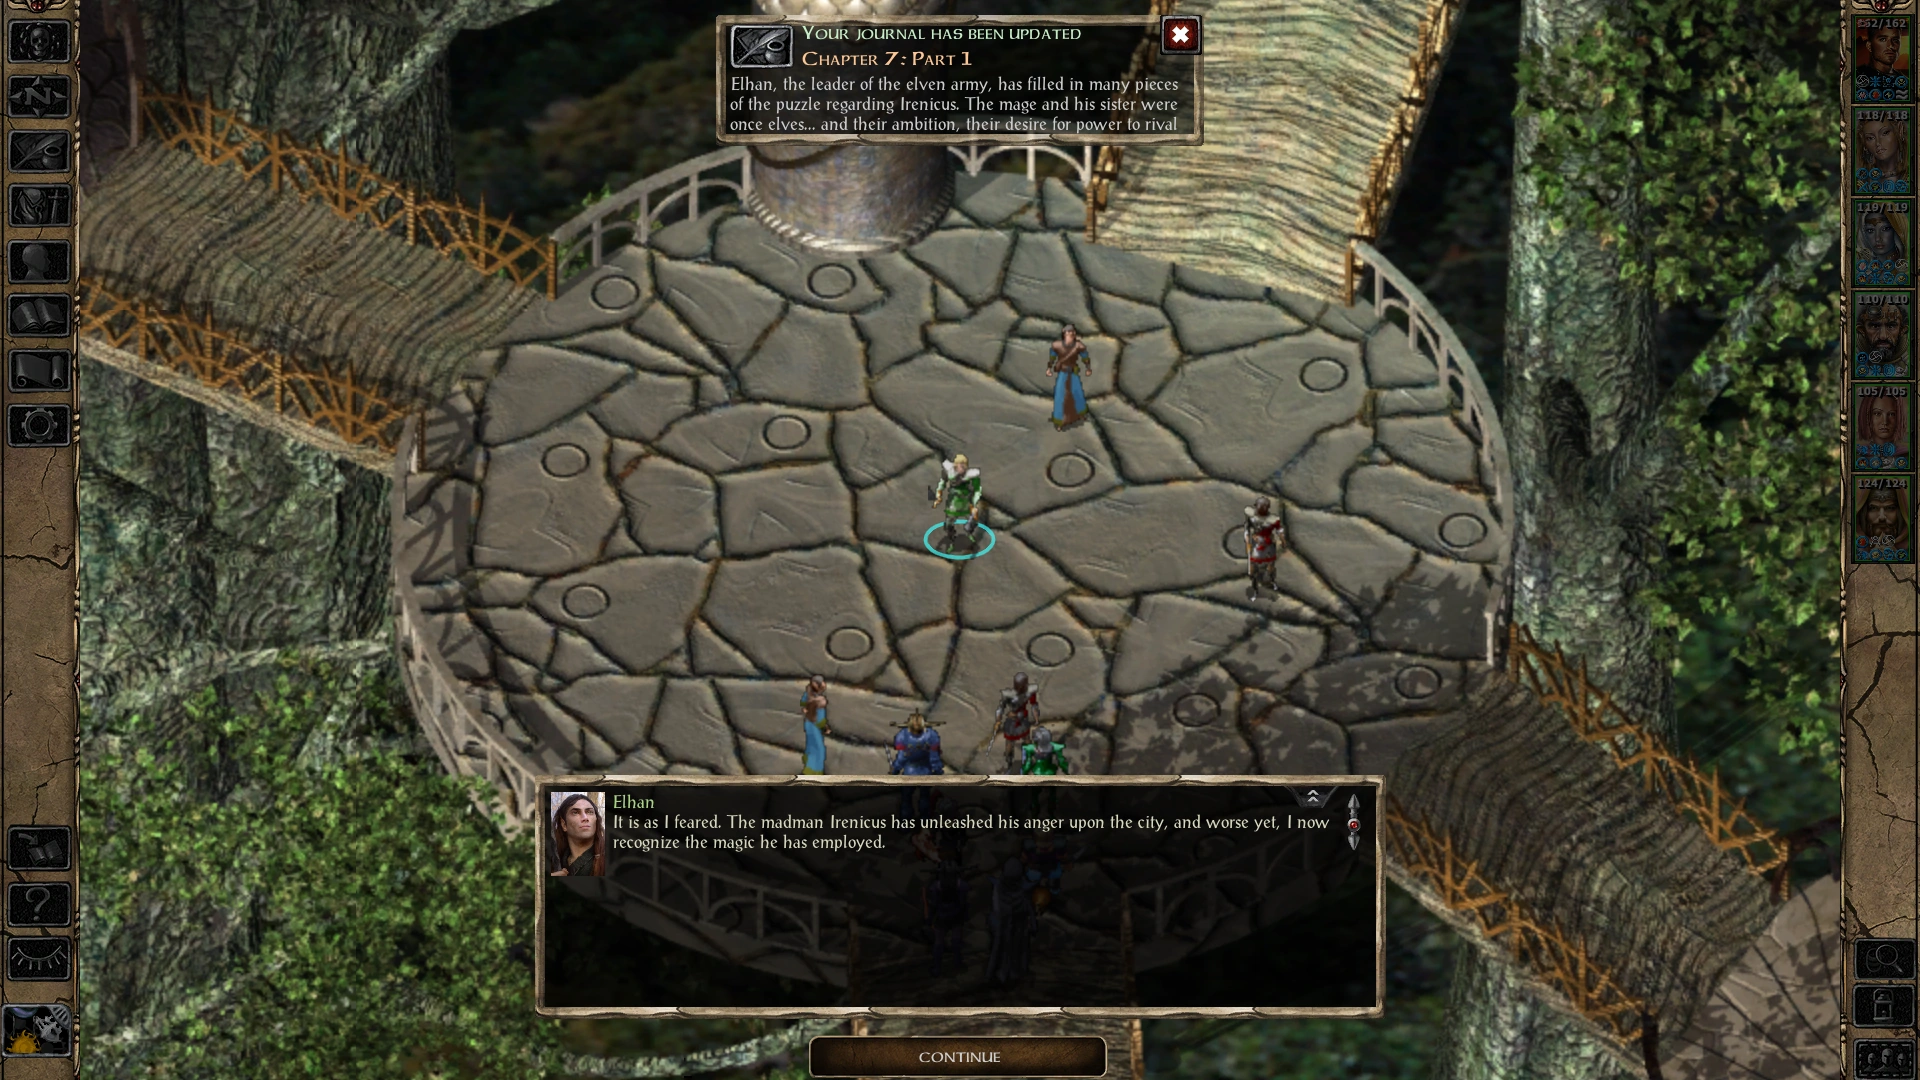
| “ | Chapter 7: Part 1 Elhan, the leader of the elven army, has filled in many pieces of the puzzle regarding Irenicus. The mage and his sister were once elves... and their ambition, their desire for power to rival the gods, led them to perform an atrocity that resulted in everything that was elven being stripped from them. Left to the longevity of a human, they each found different ways to extend their lives... Bodhi through vampirism, Irenicus through power... both plotting to regain entry into Suldanessellar so that they could have their revenge, as well as another chance to gain the power they desired. Irenicus had invaded Suldanessellar while the elven army busied itself with the drow... and then he cloaked the elven city in an illusion that hid it from anyone else. Elhan sent me to collect a mystic lantern, the Rhynn Lanthorn, that would dispel the illusion. The item was stolen from the elven holy site by Bodhi... resulting in a difficult confrontation that destroyed the vampire once and for all. Now all that remains to be dealt with is Irenicus. His plans must be stopped, and I must regain my soul or be damned to death... or worse... | ” |
— Journal Entry | ||
On the map[]
- Automap Marker "Exit" {transition to Forest of Tethir (Shadows of Amn) AR2600) (
4423.3485) - Automap Marker "The House of the Horn" (
4649.2456) - Automap Marker "Temple of Rillifane" (
3941.1605) - Automap Marker "The Palace" (
3455.291) - Automap Marker "The House of the Talisman" (
2069.3151) - Automap Marker "The Priest's House" (
2201.2872) - Automap Marker "The House of the Moon" (
1828.1387) - Automap Marker "Demin's House" (
788.2153) - Automap Marker "The Harpist's House" (
1828.1387) - Automap Marker "To the Forest Clearing" (
44.517)
Enemy spawns and game difficulty settings[]
Throughout the city are placed hidden (not detectable by the player) proximity triggers that initiate spawned groups of enemies, and also NPC's in various sectors of the map.
The behavior of the game difficulty settings in an unmodded game are still applicable in Chapter 7 and all the encounters in Suldanessellar.
However, the game will look at the total accrued experience assigned to the main character Gorion's Ward, and that will determine the composition of spawn groups triggered in the city.
Most likely, the PC will have accumulated over 2 million XP at this stage of the saga, and therefore the highest and most difficult numbers and creature type will be presented during the adventure here.
If the PC has less than 2M XP, there are actually three lower difficulty spawn tiers that are presented. In short, the actual game difficulty slider available to the player doesn't influence the determination of the spawned enemy groups.
See the Mod content section below - where this dynamic is changed.
Resting in the city[]
Resting indoors in Suldanessellar is prohibited. The exception to this is The Palace interior.
Resting/camping outside is permitted but will be interrupted by attacking invaders - usually by Maharajah or Rakshasa creatures.
Even resting right next to Elhan at the city entrance platform isn't safe from being attacked/disturbed.
After the Avatar of Rillifane has been awakened, and the Guardians of Rillifane have been released into the streets, it is safe to rest in the city outdoor areas without interruption.
Gameplay/Walkthrough[]
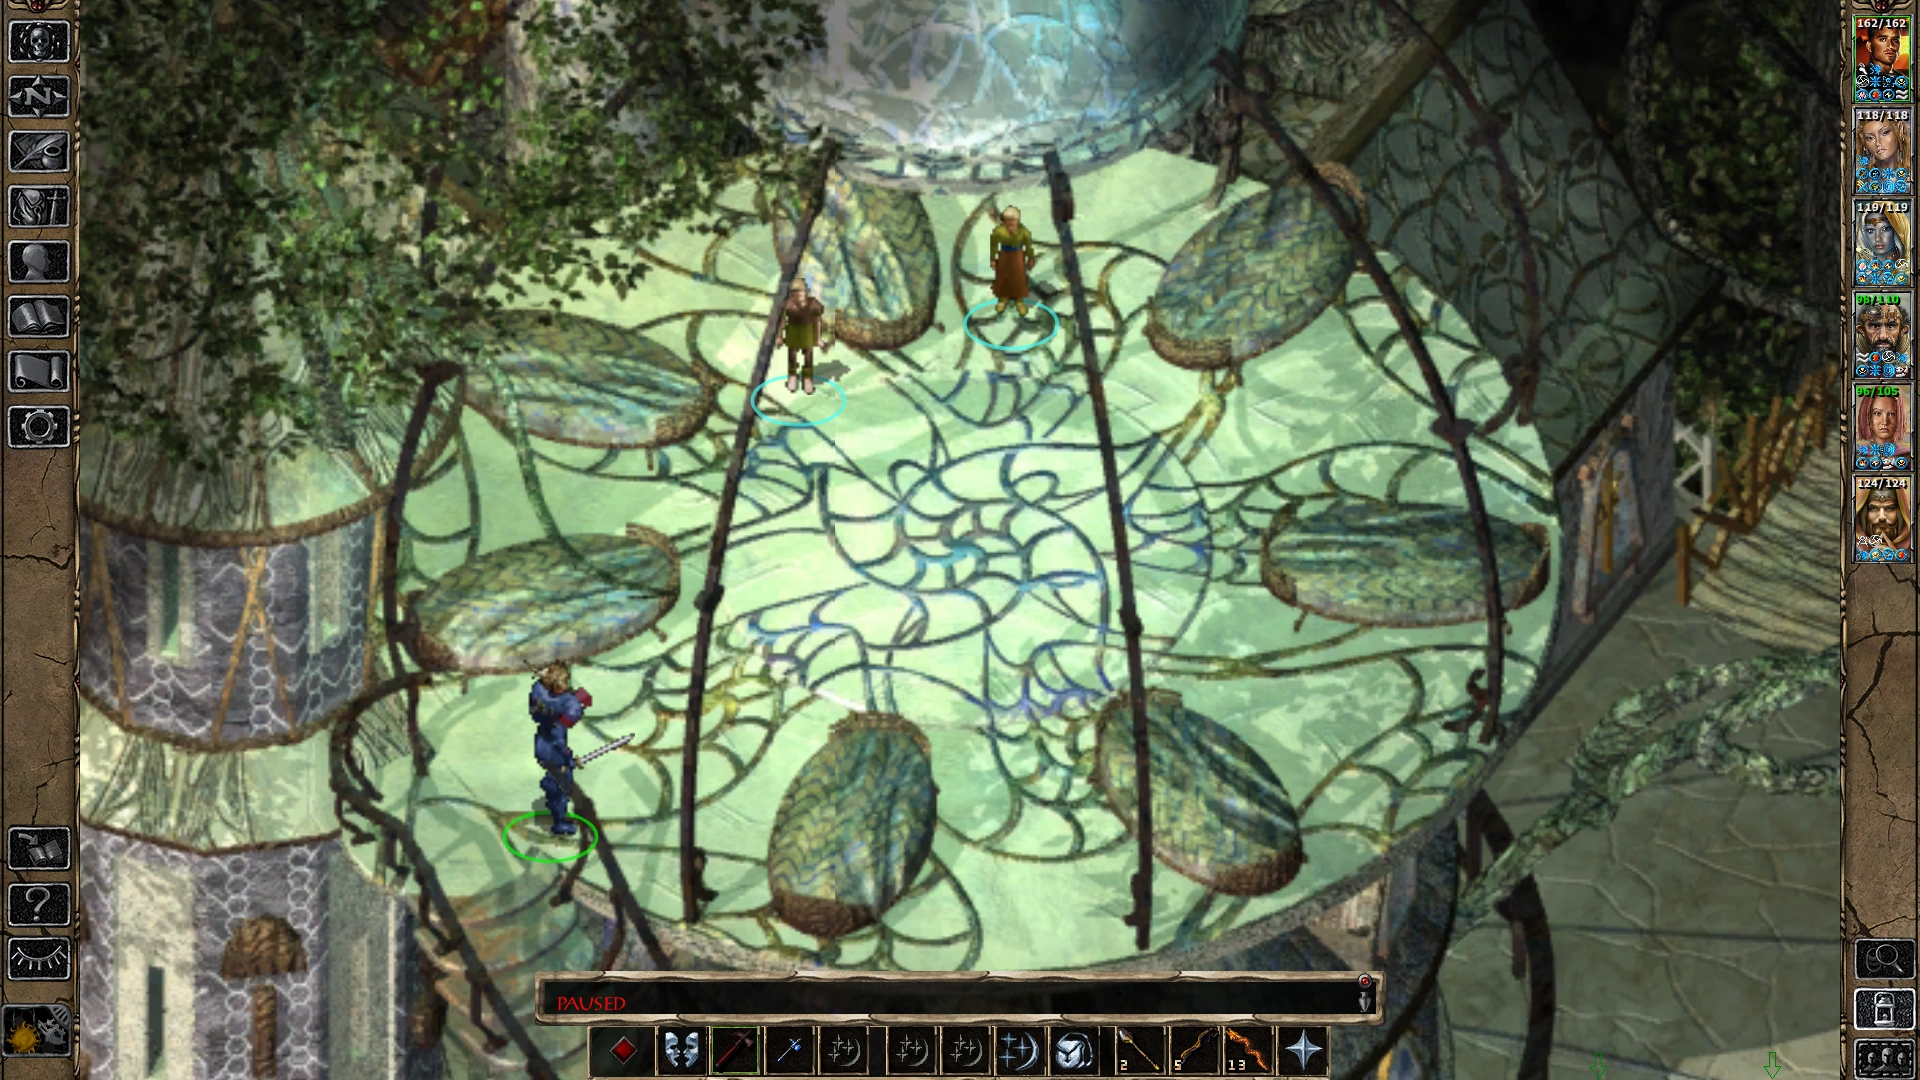
Enter the city[]
Gorion's Ward and company enters the gate leading to Suldanessellar revealed by Elhan in the Forest of Tethir. Elhan had preceded them in order to see for himself what had been wrought by Irenicus and the invading forces upon the elven city.
A cutscene will play very soon after entering showing some animation of the tree top city, and then a Chapter 7 narration will occur. Afterwards, the party is adjacent to Elhan and some of his "Elite War Guards" on the entryway platform. Elhan speaks in his somber voice:
- "It is as I feared. The madman Irenicus has unleashed his anger upon the city, and worse yet, I now recognize the magic he has employed. Corruption magics, illusions from a race of spirits, the rakshasa. Such creatures are very predatory. It would appear that there is no depth to which Irenicus will not sink. Suldanessellar is under siege. With this number of beasts under his command, Irenicus will be very hard to unseat."
The PC may interject and ask a question here, perhaps trying find out the best way to proceed, or how to minimize damage to the city. Elhan will reply:
- "We must proceed with caution. Not everyone in the city can withstand an onslaught like this. Their safety must take priority. You must seek out Ellesime. She will know what to do. She has a link to the divine not unlike your own, though through a much more benevolent spirit. Failing that, find the high priestess, Demin. If anyone had warning of Irenicus and made preparations, it would be one of those two."
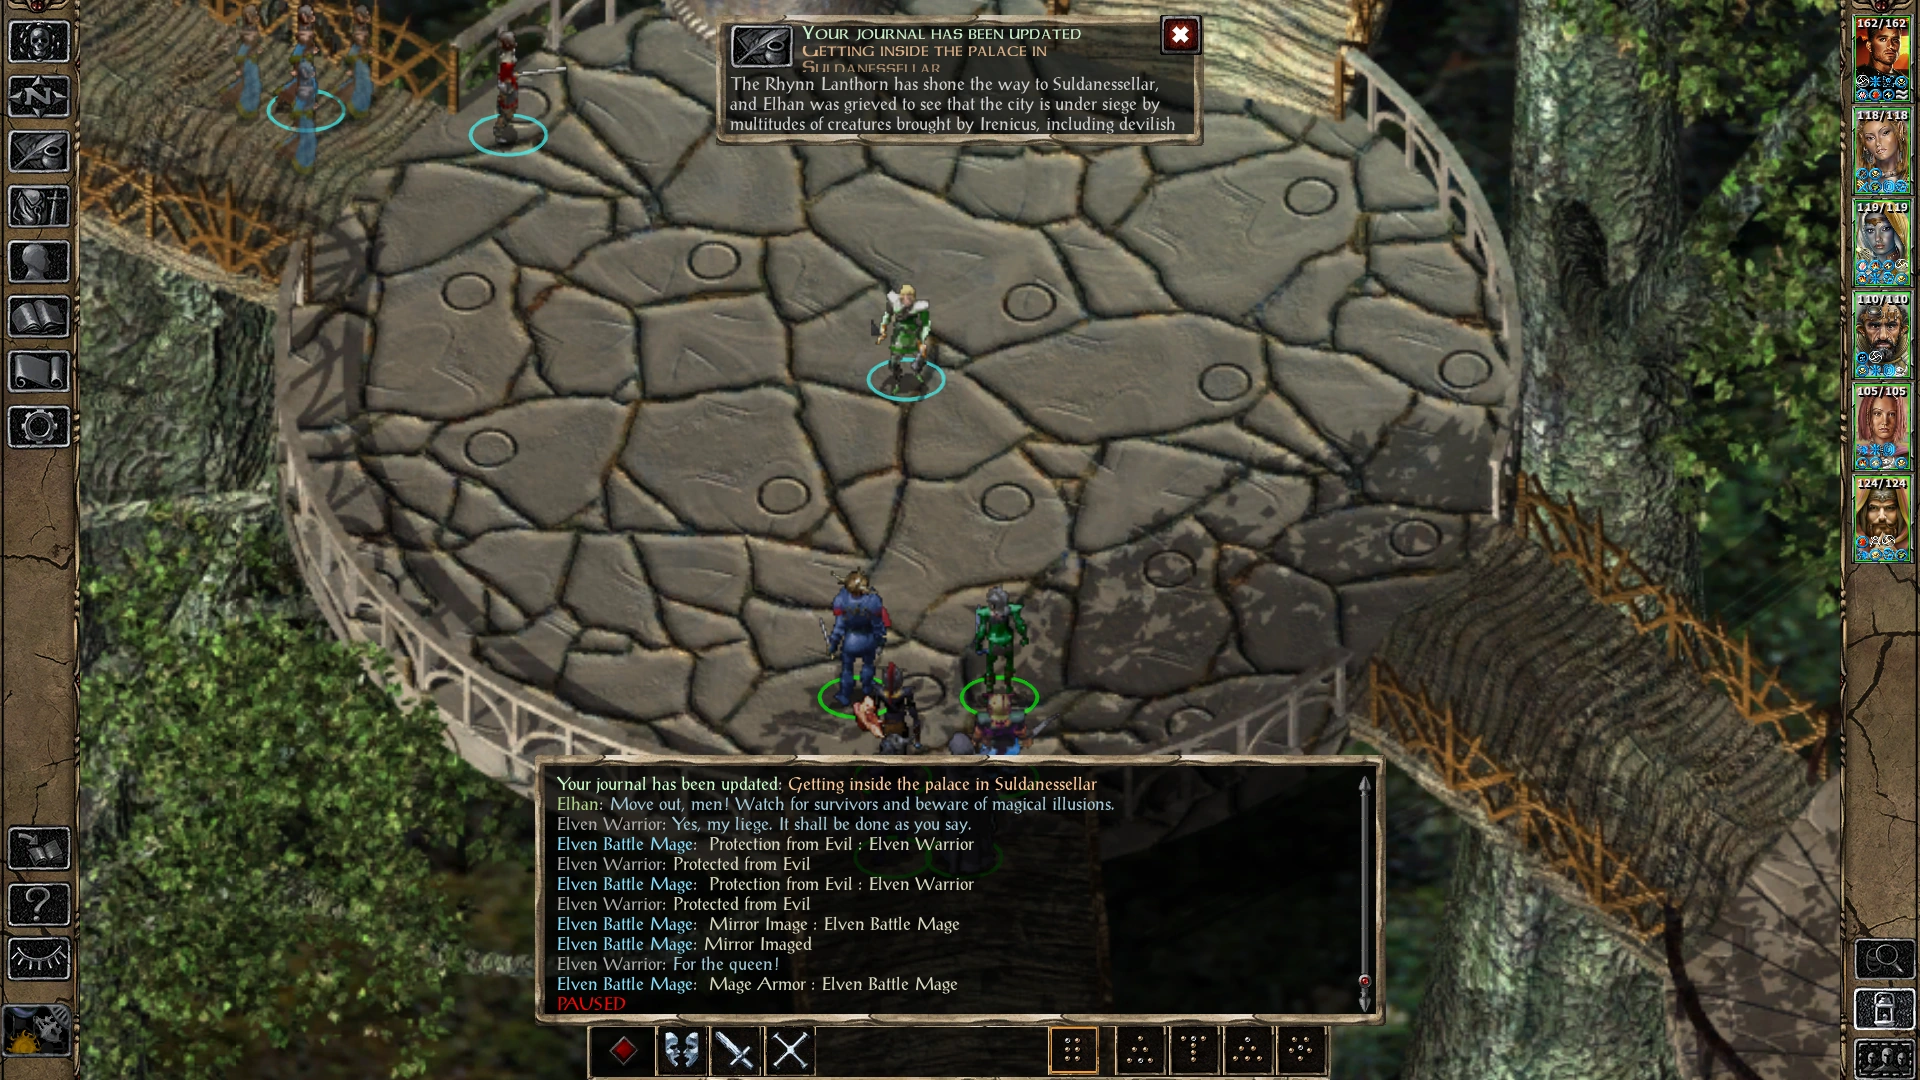
When the PC replies, Elhan will send forth his guards ahead and say:
- " Go, <CHARNAME>. I will garrison this area with my elite war guards. We will shepherd people to safety as you secure the inner city."
At this time the player's journal registers the Getting inside the Palace in Suldenessellar questline.
The House of the Horn[]
The nearest structure to the entrance platform is north, from a relatively short pathway, labelled as The House of the Horn.
There aren't any spawned creatures to impede the party on the short journey to the building, nor any hostiles outside the building.
Take the stairs up to the doorway and enter the house. See the House of the Horn link for what's inside.
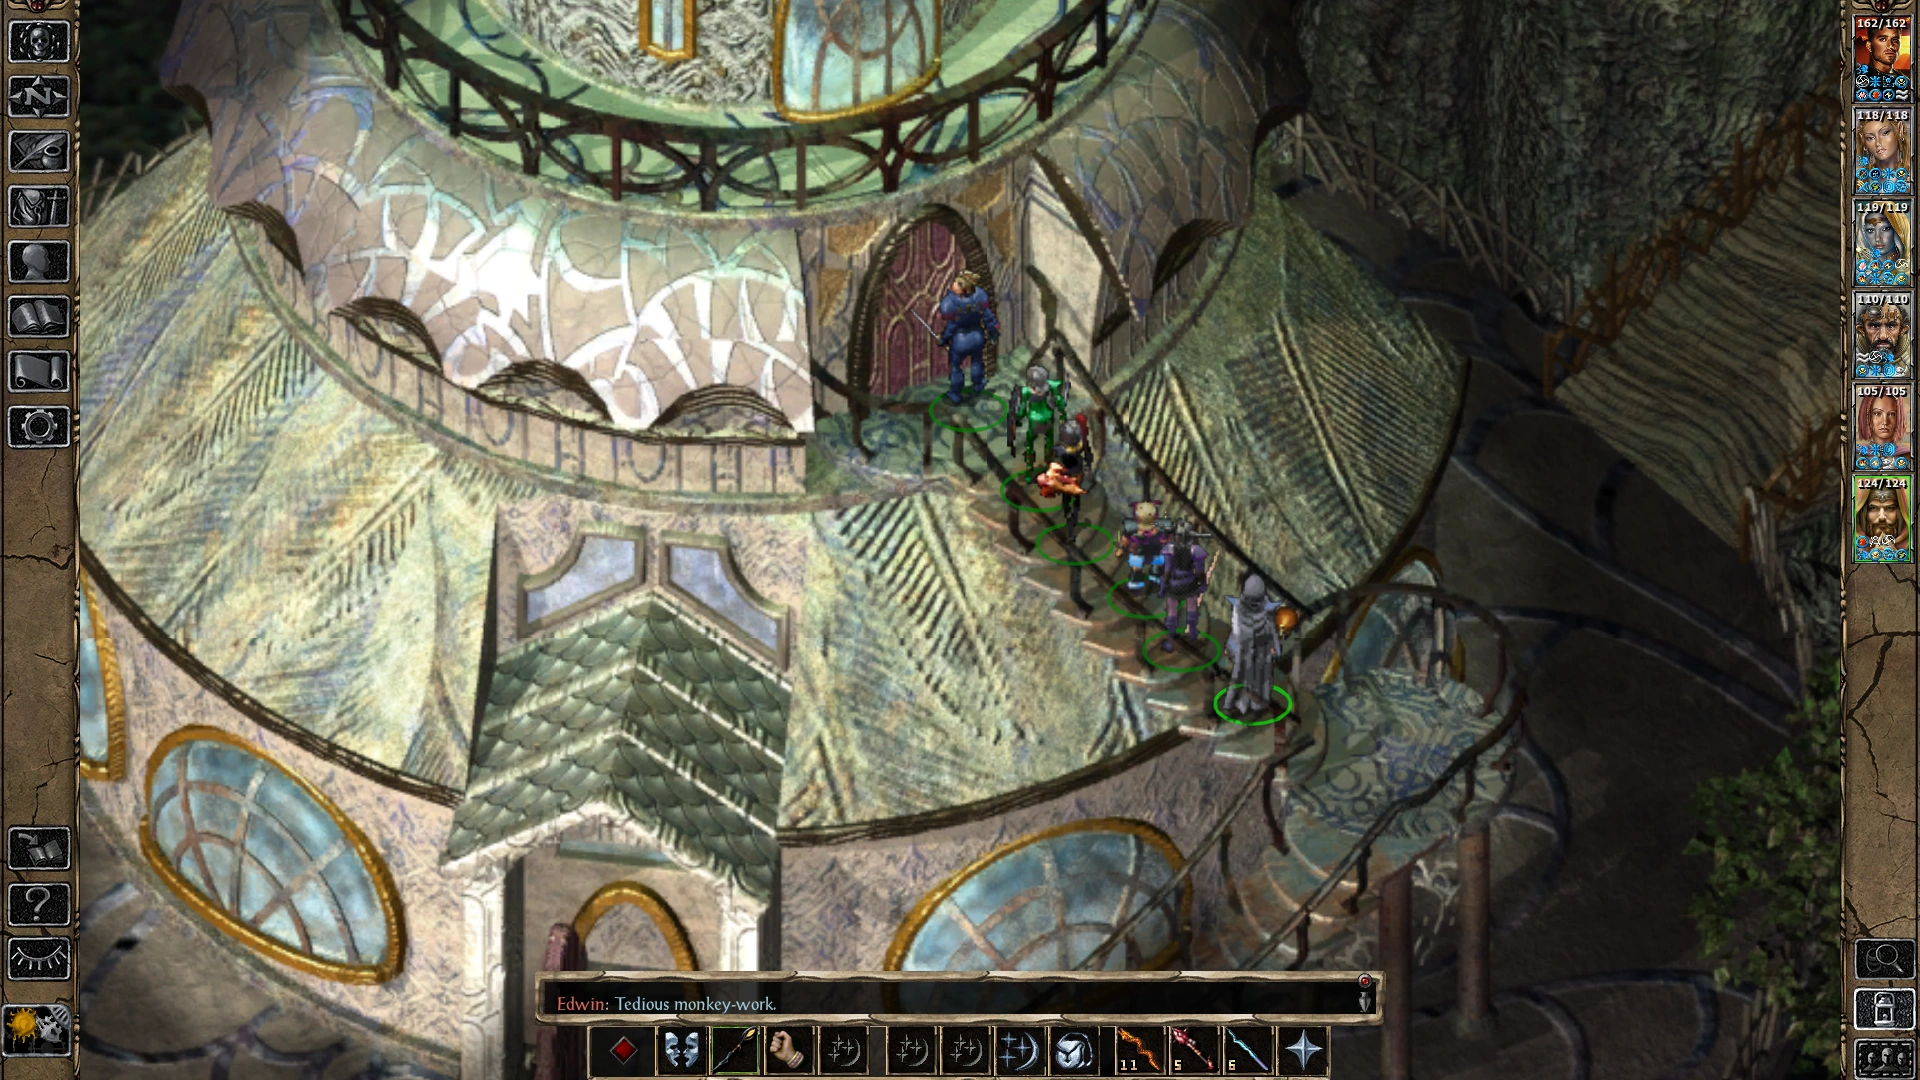
North past the House of the Horn[]
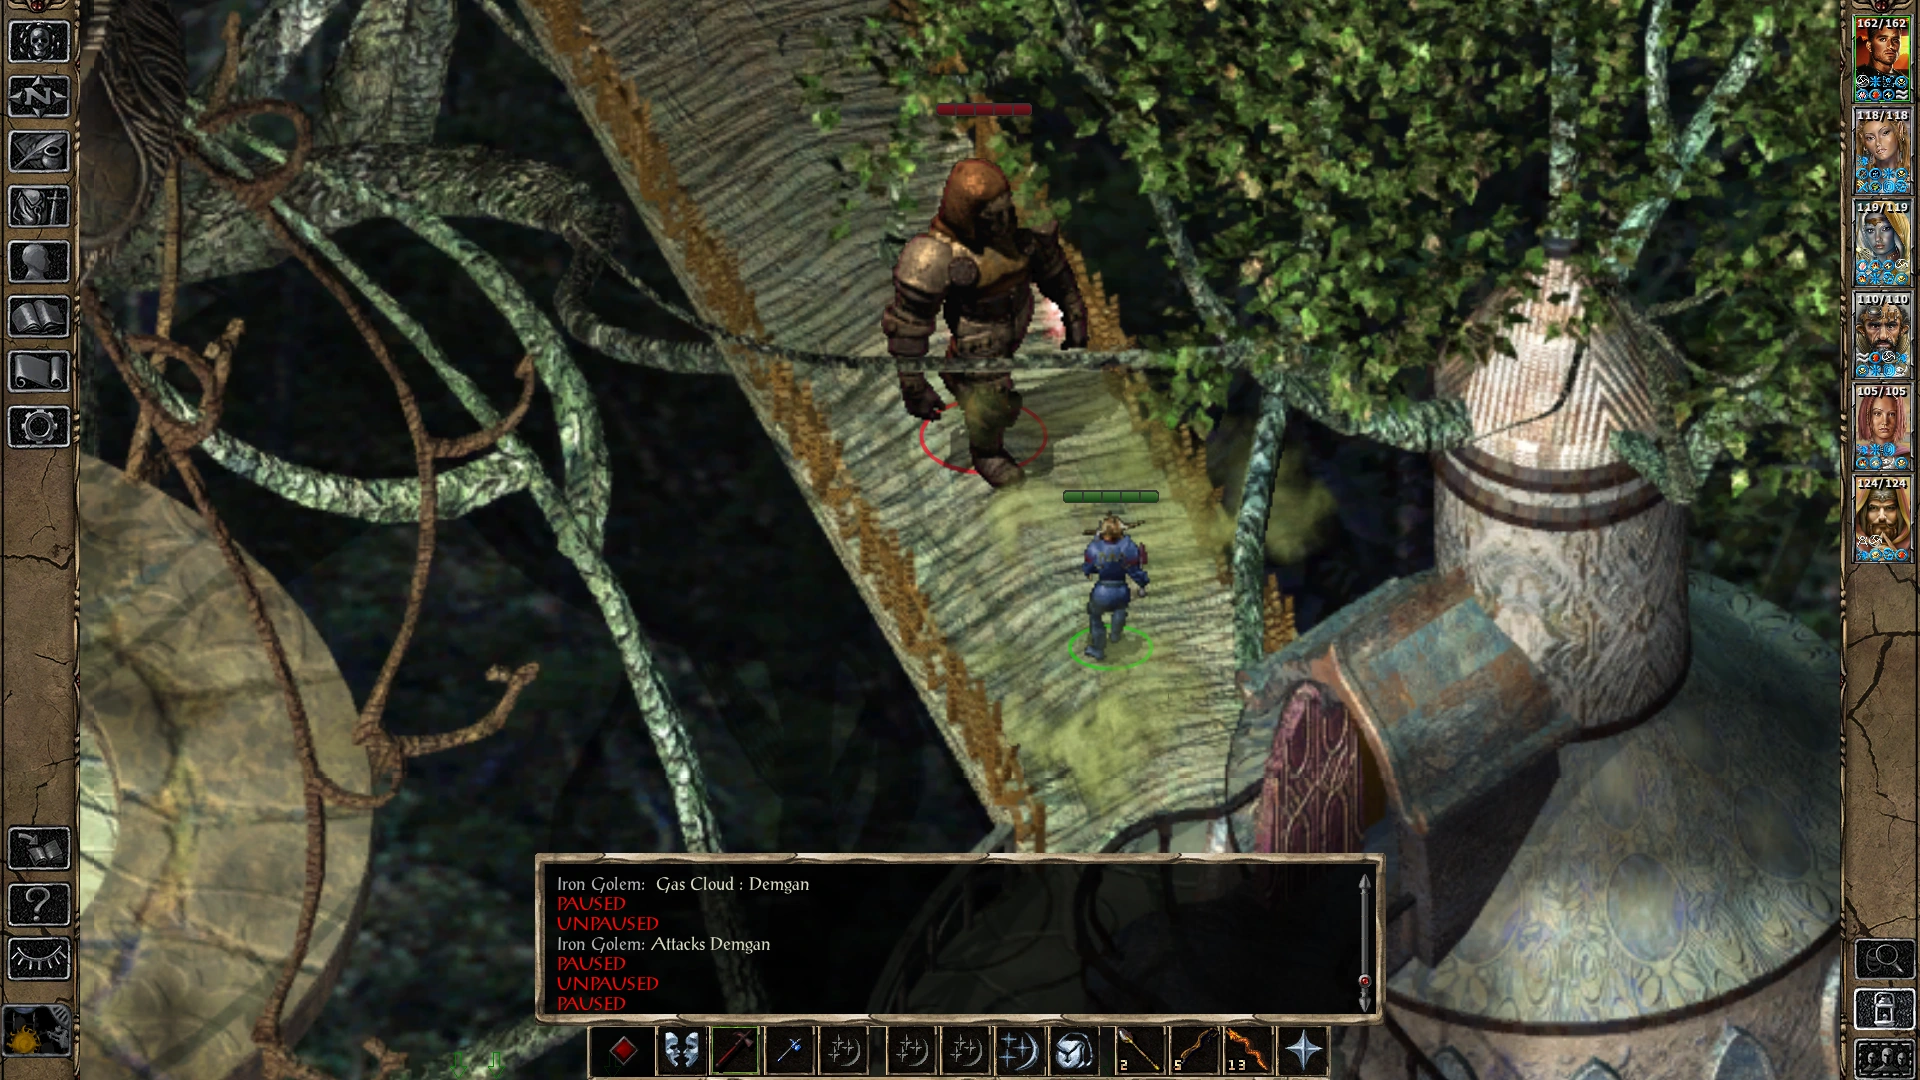
A pathway leading north from the House of the Horn id defended by an Iron Golem. An invisible or hidden party member could sneak past. Note the golem appearance in the basic game will be the same as a Adamantite Golem. The screenshot displays the GCFS mod and the Icewind Dale Iron Golem sprite.
This creature is not affected by the instant slaying ability of the Crom Faeyr war hammer. Other +3 enchanted weapons can strike it though.
Taking out this construct is a good idea at the moment, so it can't respond to "Calls for Help" from other enemies on the map. Watch out for its innate Gas Cloud ability, as shown in the screenshot. Further north beyond the golem is The House of the Moon platform.
Take the Northwest path[]
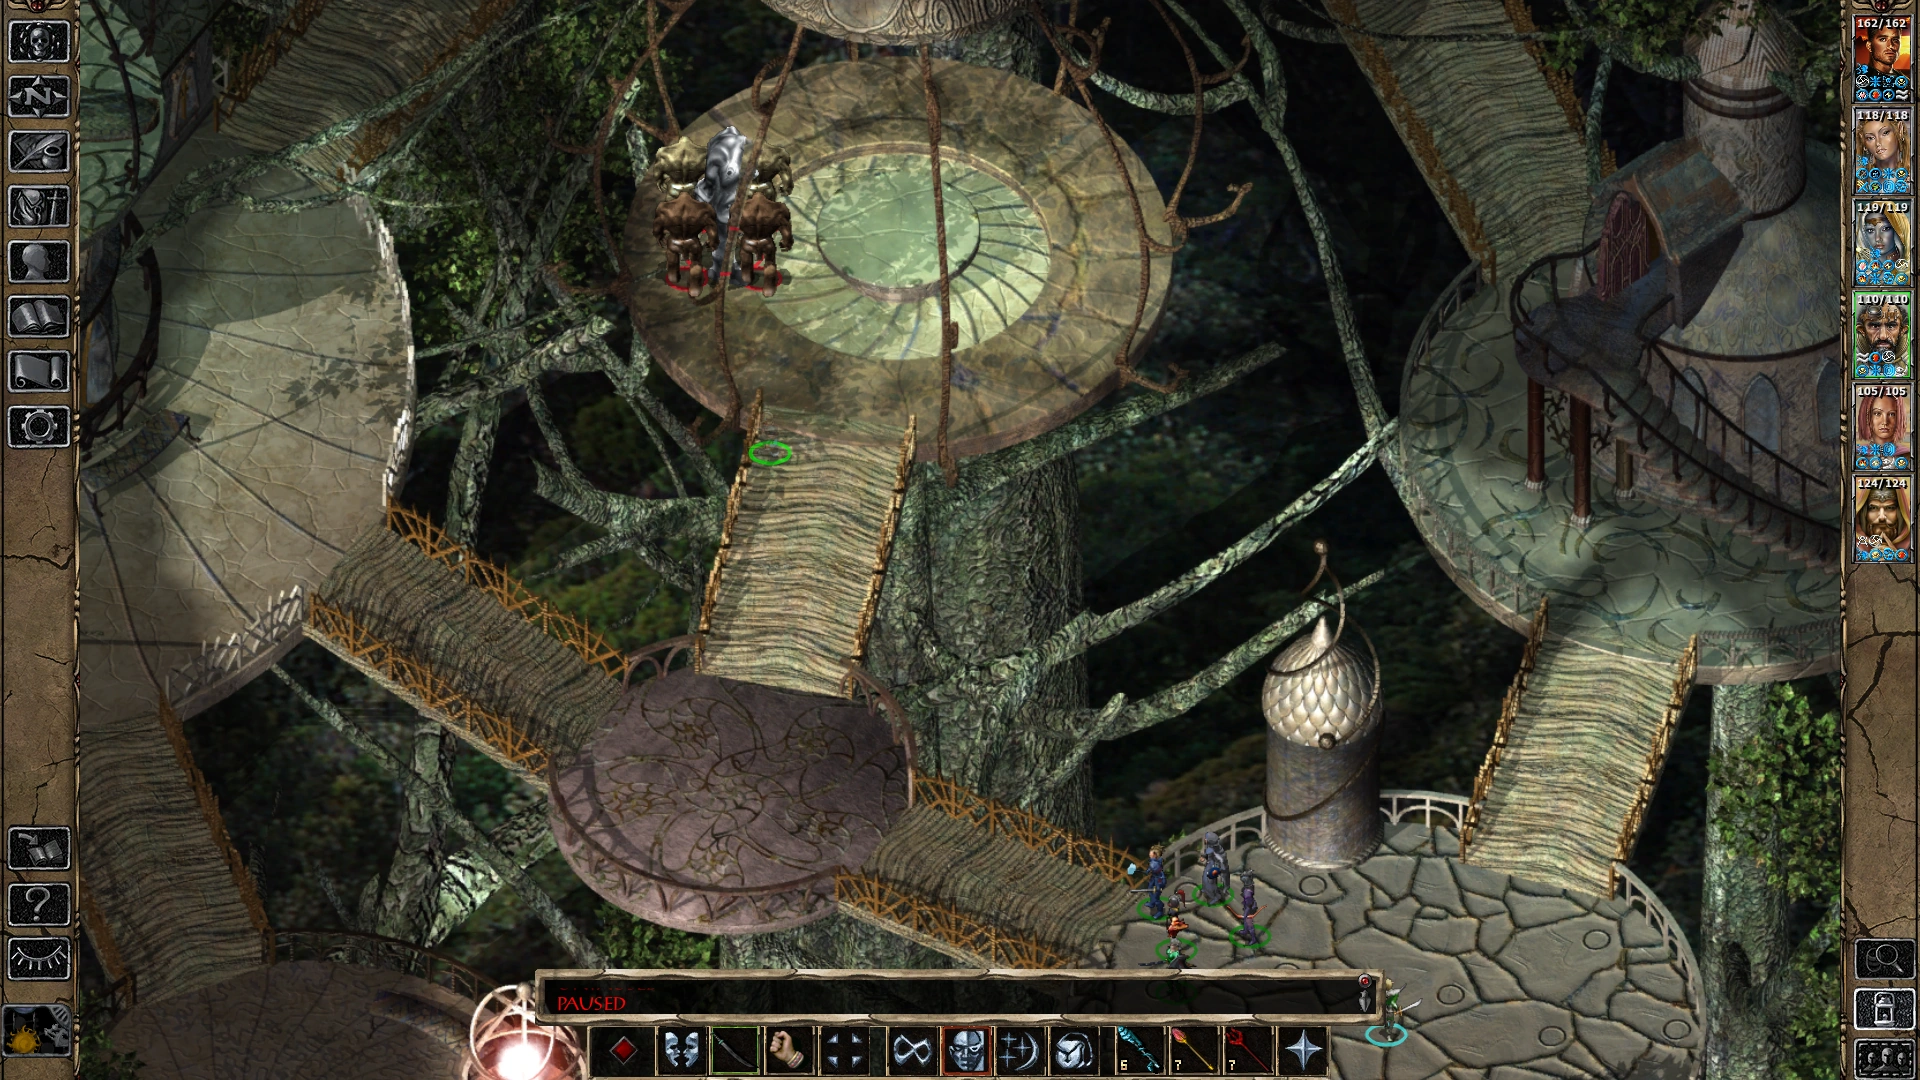
From the city entrance platform where Elhan is positioned - the party can move Northwestwards, perhaps heading toward Demin's House as a goal, as advised by Elhan.
Further down this path is a side pathway heading north - what's up that way?
A hidden or invisible party member could scout up there and have looksee.
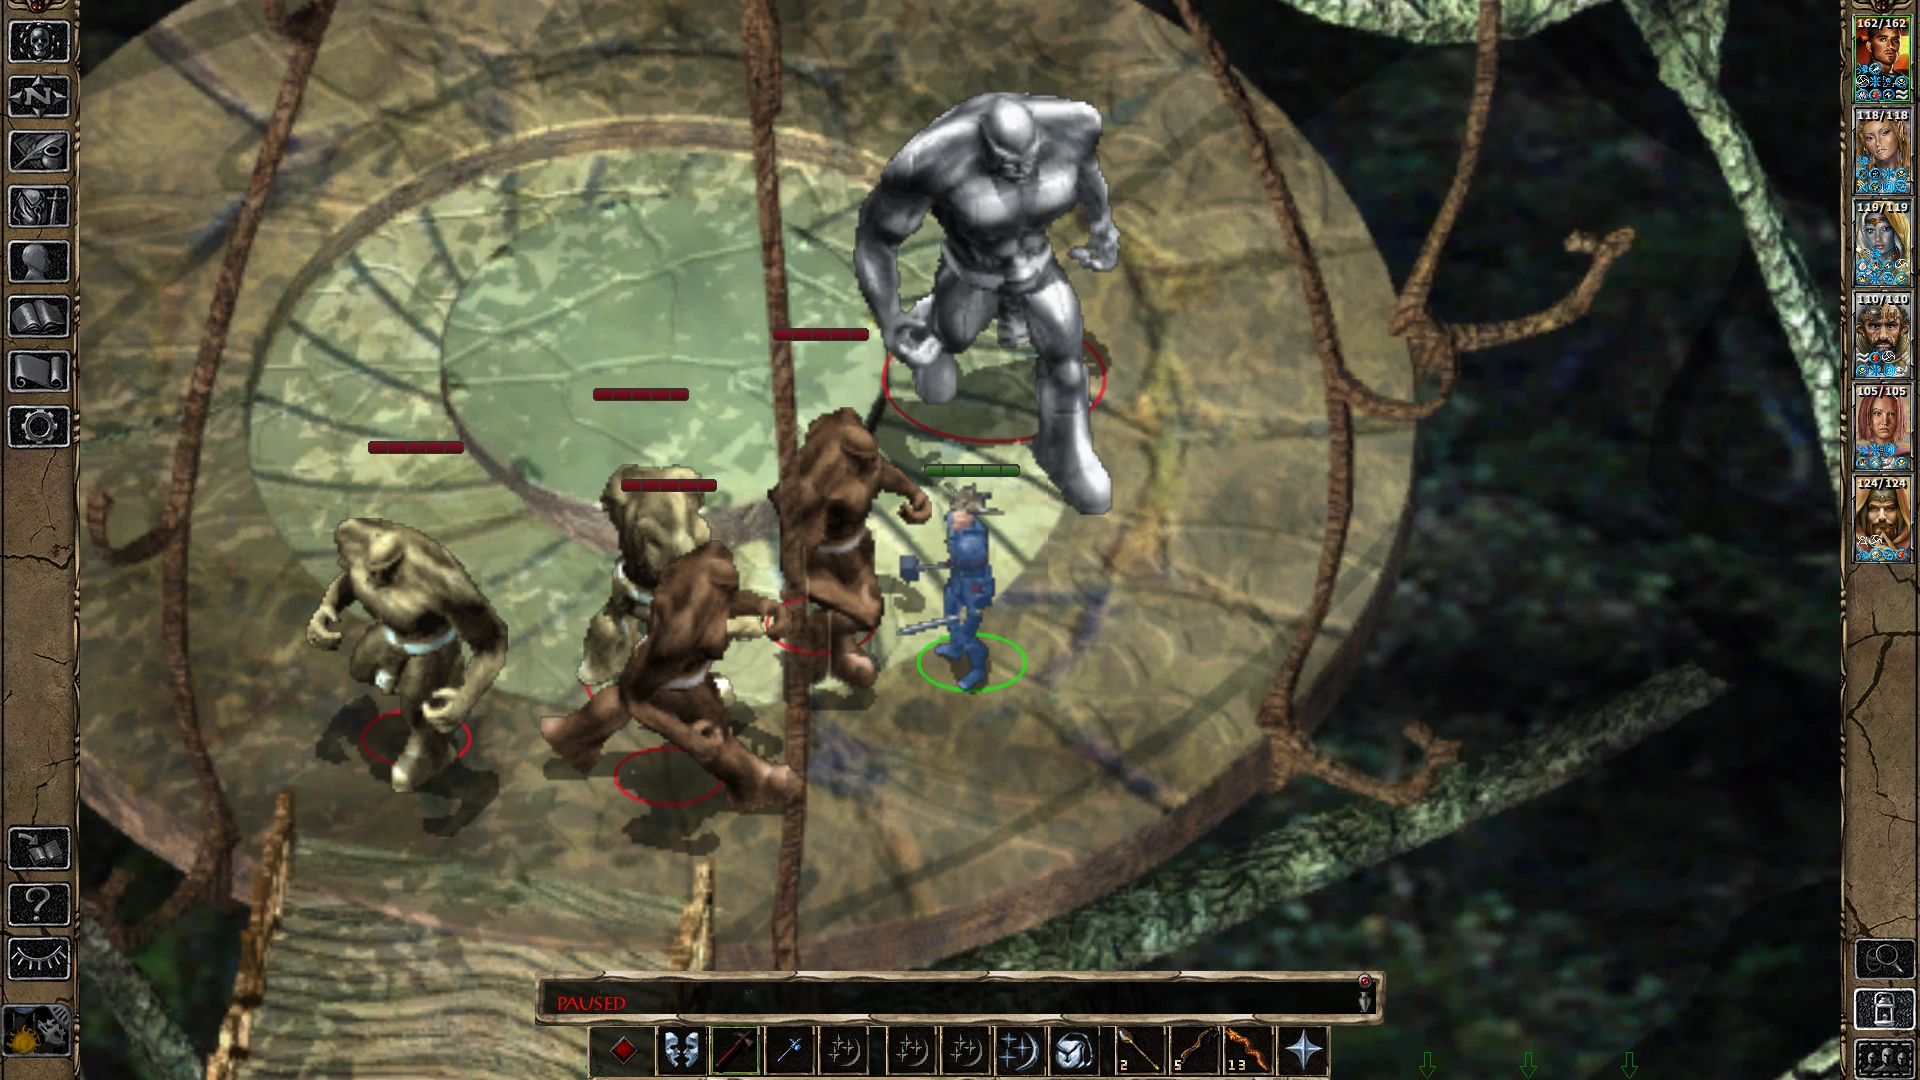
The side path leads to a dead-end circular platform with multiple golems stationed there (numbers and type determined by PC's XP level).
If any party members are detected, they will likely follow and attack mindlessly.
The Clay Golem will haste themselves and other golems, so watch out for that. The Adamantite Golem can take a lot of punishment, and dish it out too.
Another golem group by an unnamed house[]
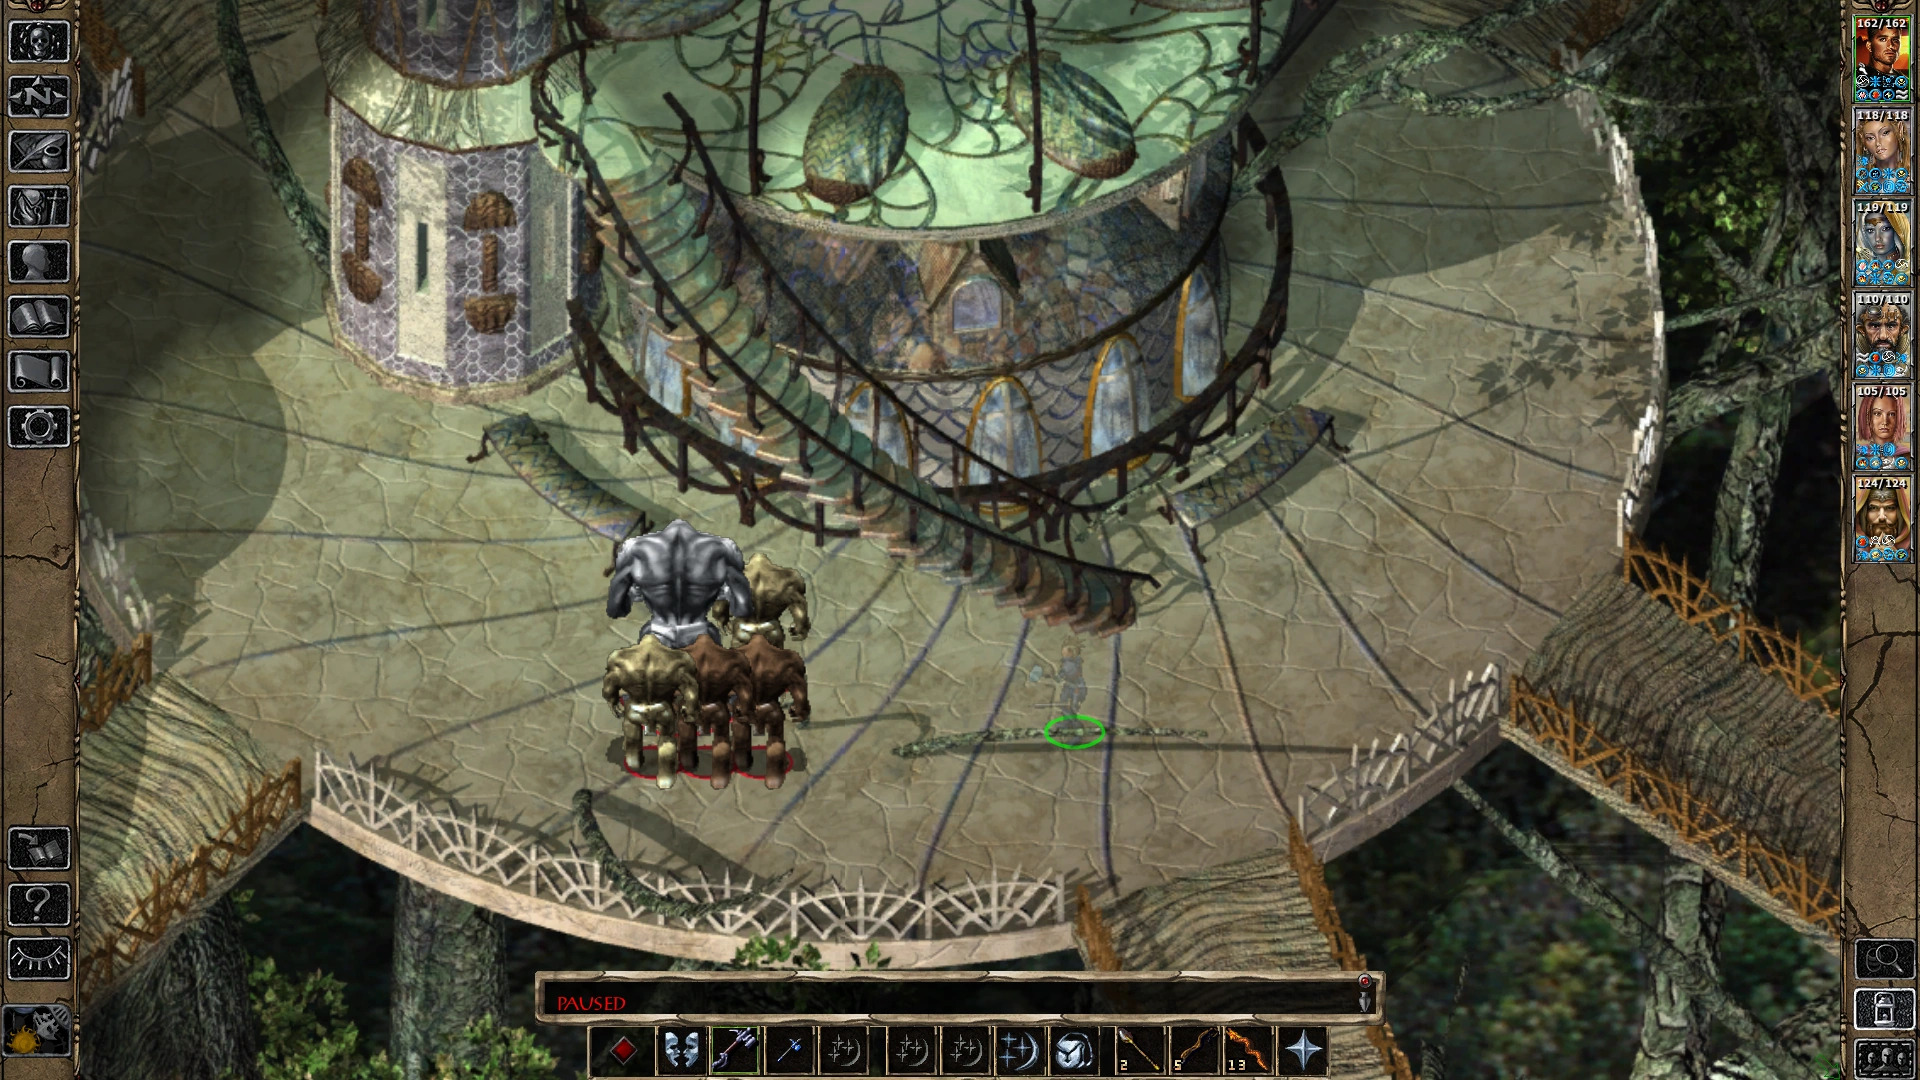
The party will find another group of various golems outside of an unnamed house, with a staircase leading to the roof structure.
A hidden party member can avoid detection.
The composition of the hostile golem group is determined by the PC's experience point total.
These mindless automatons will follow and attack any detected party member.
Best to take care of these threats and not leave them lurking in the city.
After they are destroyed, consider having a look up the stairs and on the roof of the house.
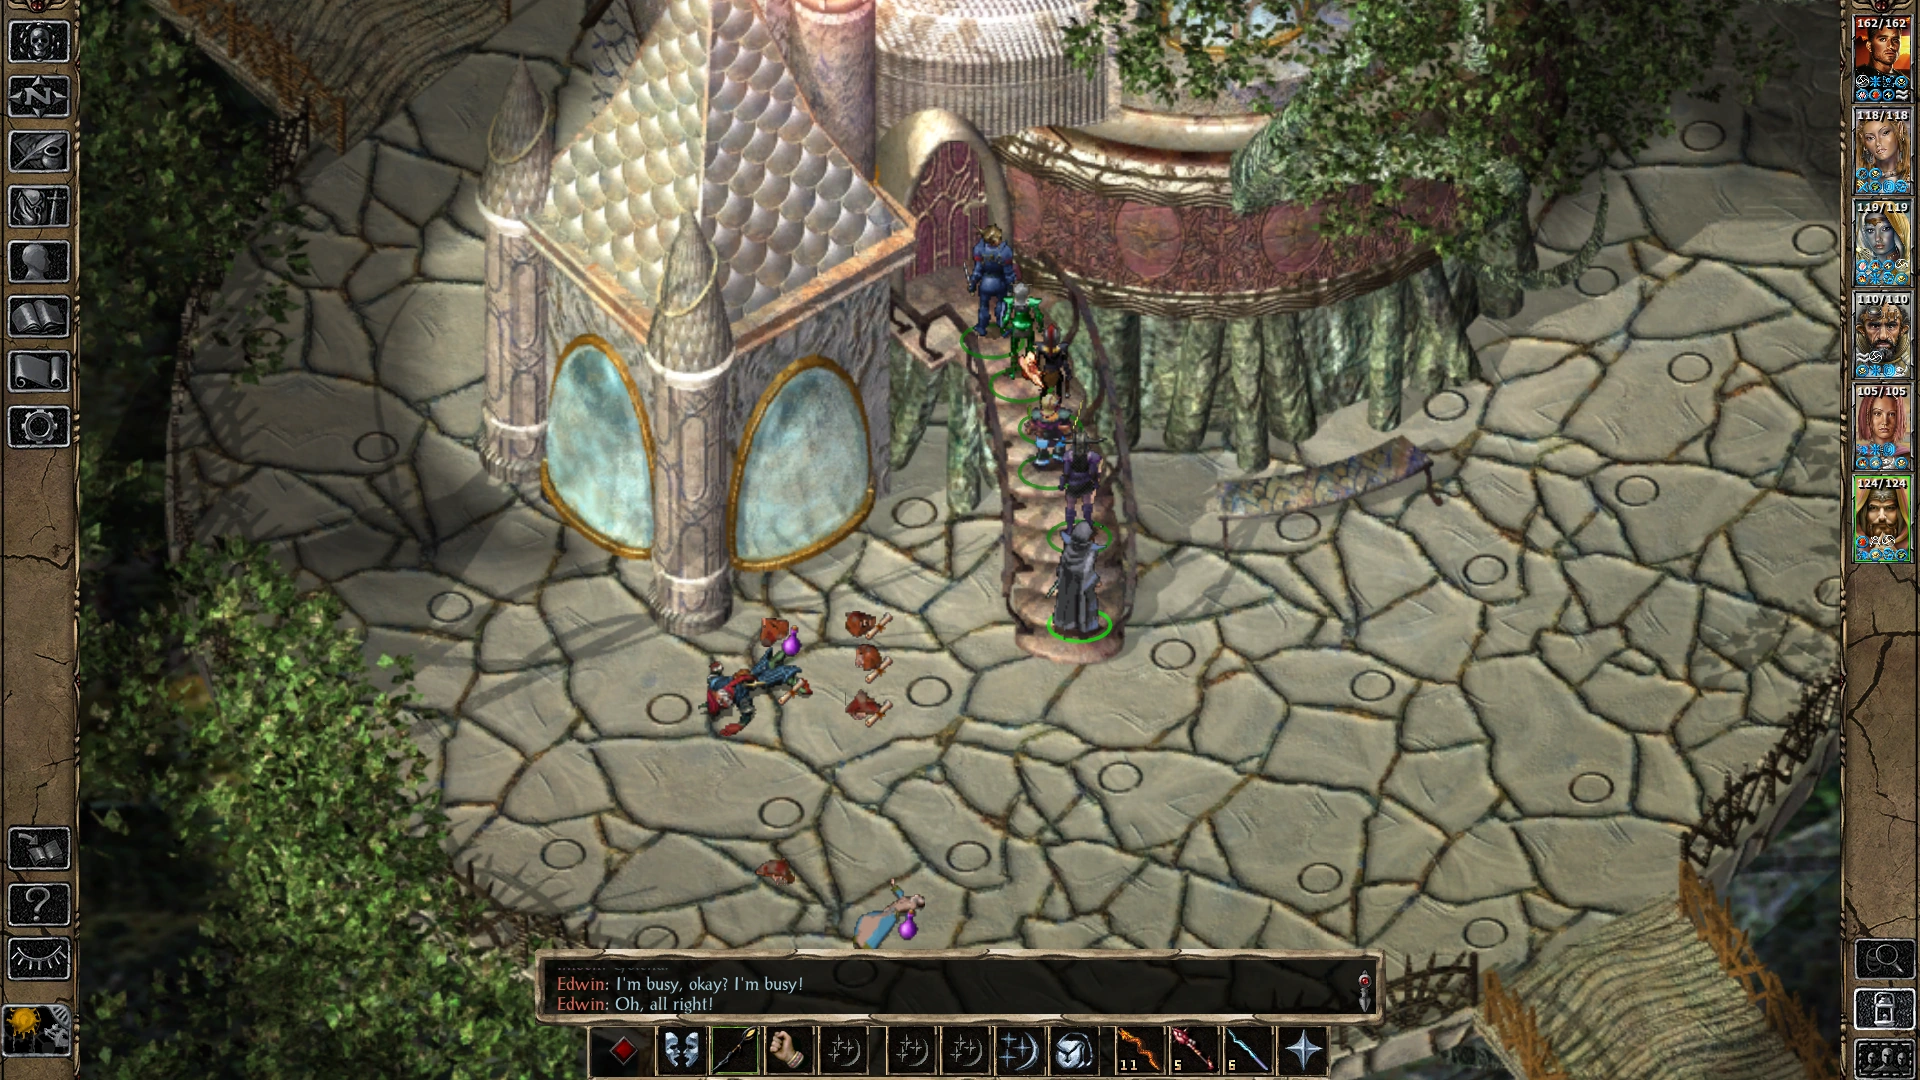
The rooftop rescue[]
Up the stairs to the roof of the unnamed house reveals a roof garden of sorts in a gazebo.
Fortunately, no enemies are observed, however two frightened elven children are cowering here.
A small female child Girl (Elf) cries out in dismay as she sees the armed party member.
Her brother tries to soothe her that the party aren't monsters. These two are worried, and don't know where their parents are.
It's up to the party to decide how to handle this situation with dialogue. It would be best if they were told to hurry back to Elhan for safety.
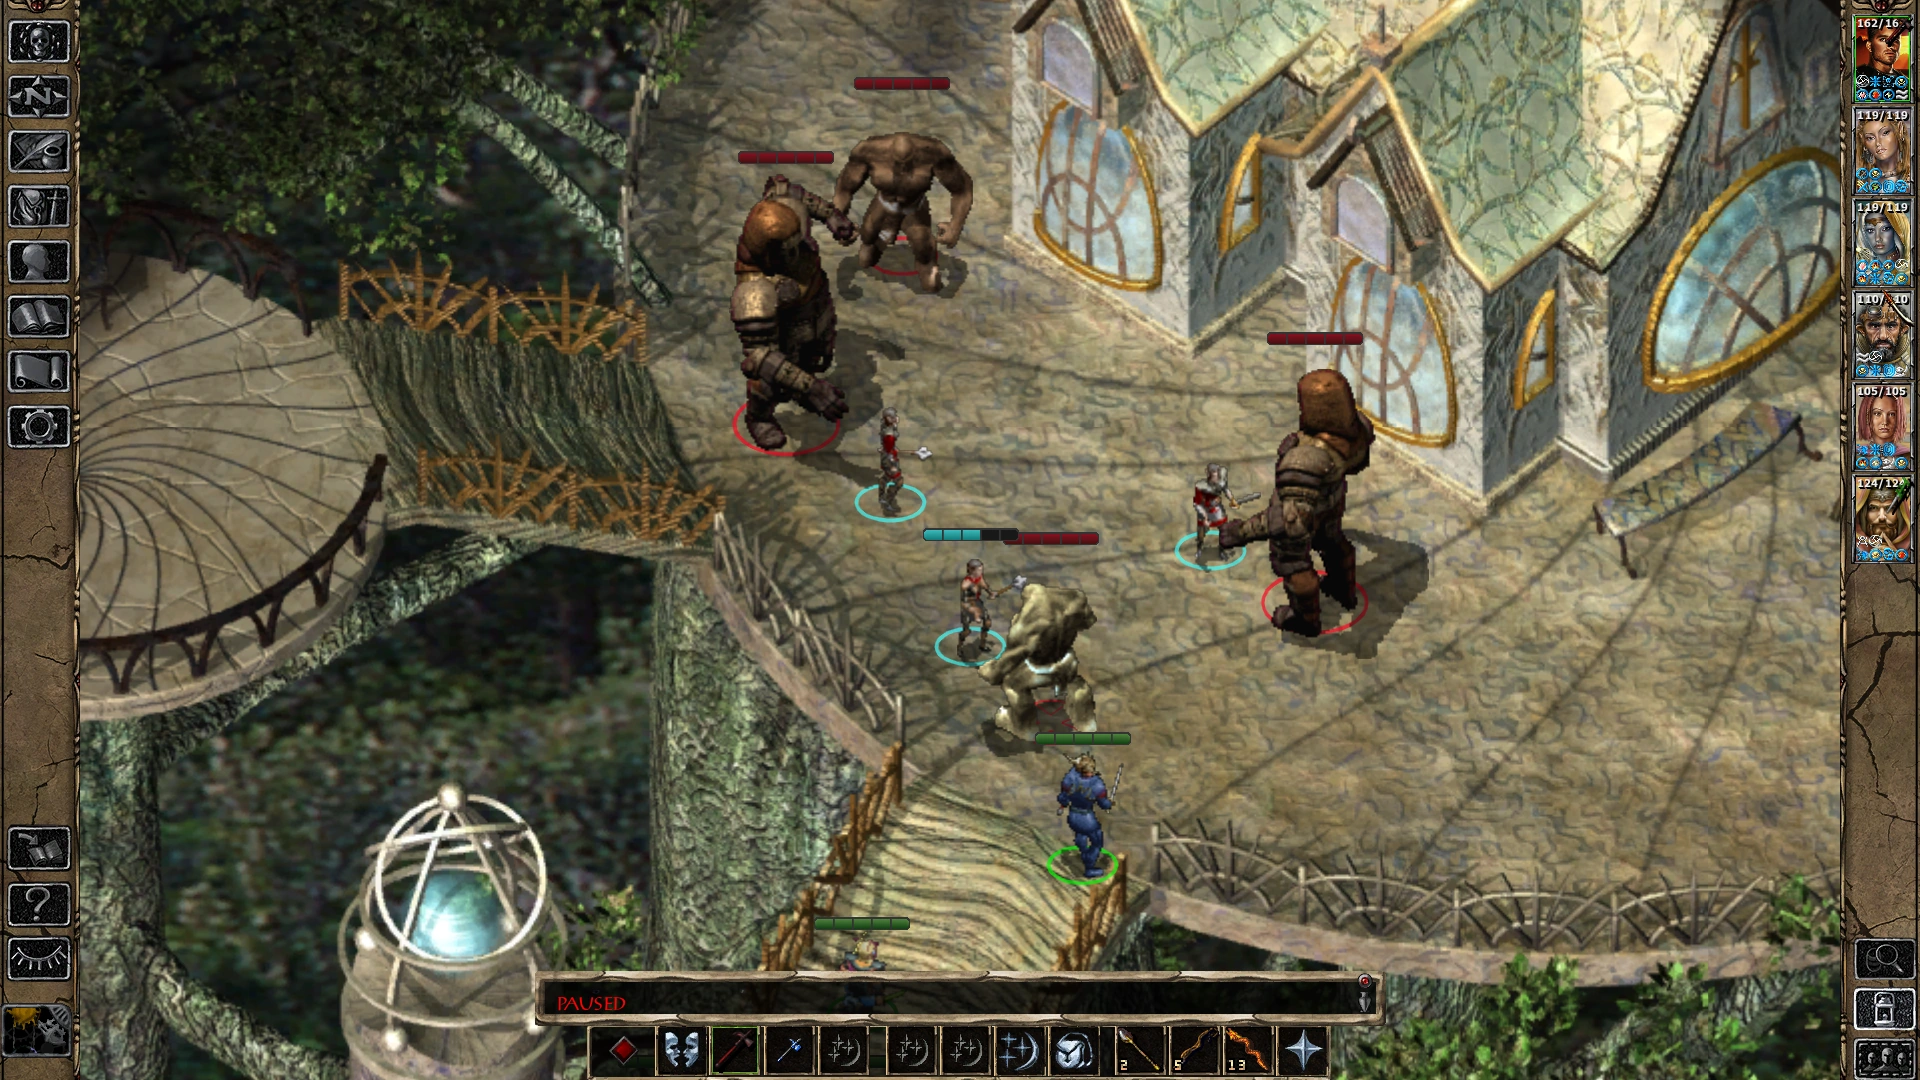
South platform troll battle[]
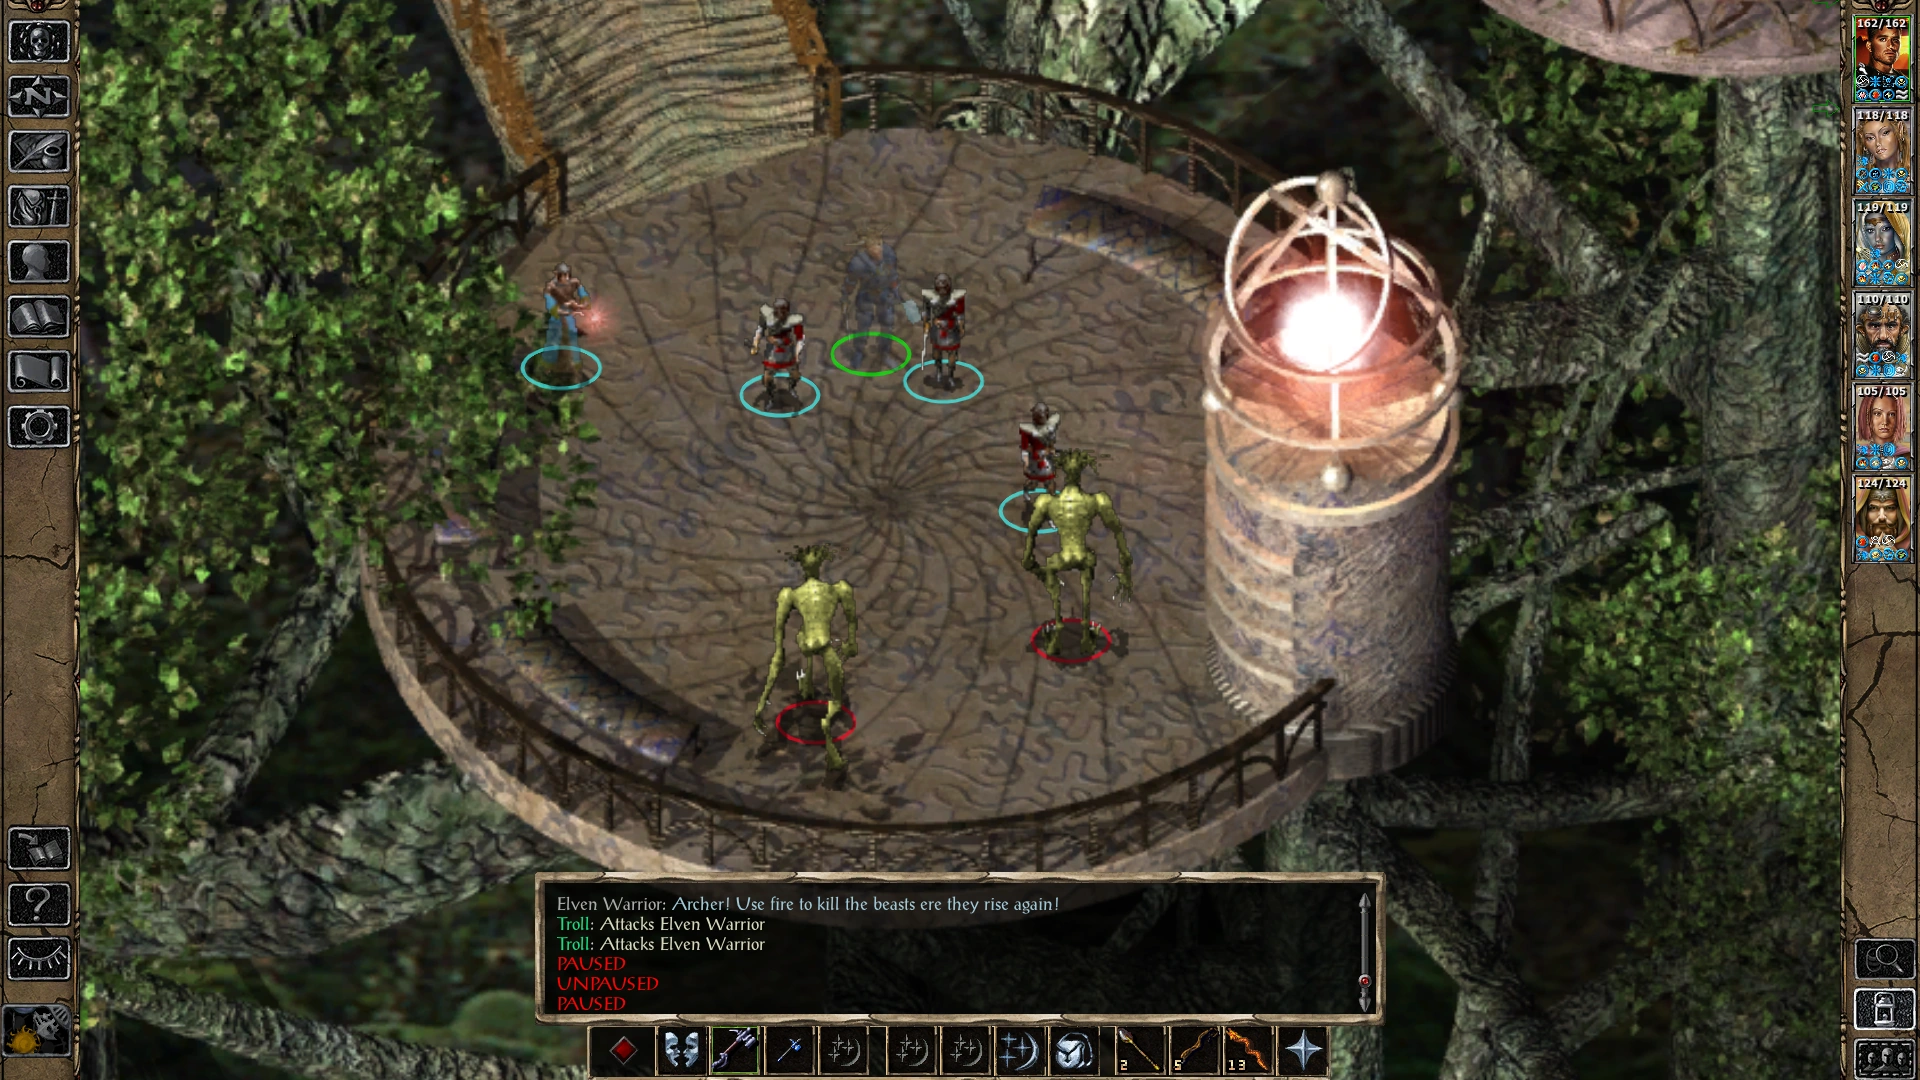
South of the unnamed house is a short walkway leading to a circular platform (a dead end).
The party observes an Elven Battle Mage and Elven Warriors in combat with Troll invaders.
Help them out if you desire. Some XP can be had if you are able to defeat the trolls. The elves might be able to kill some of them.
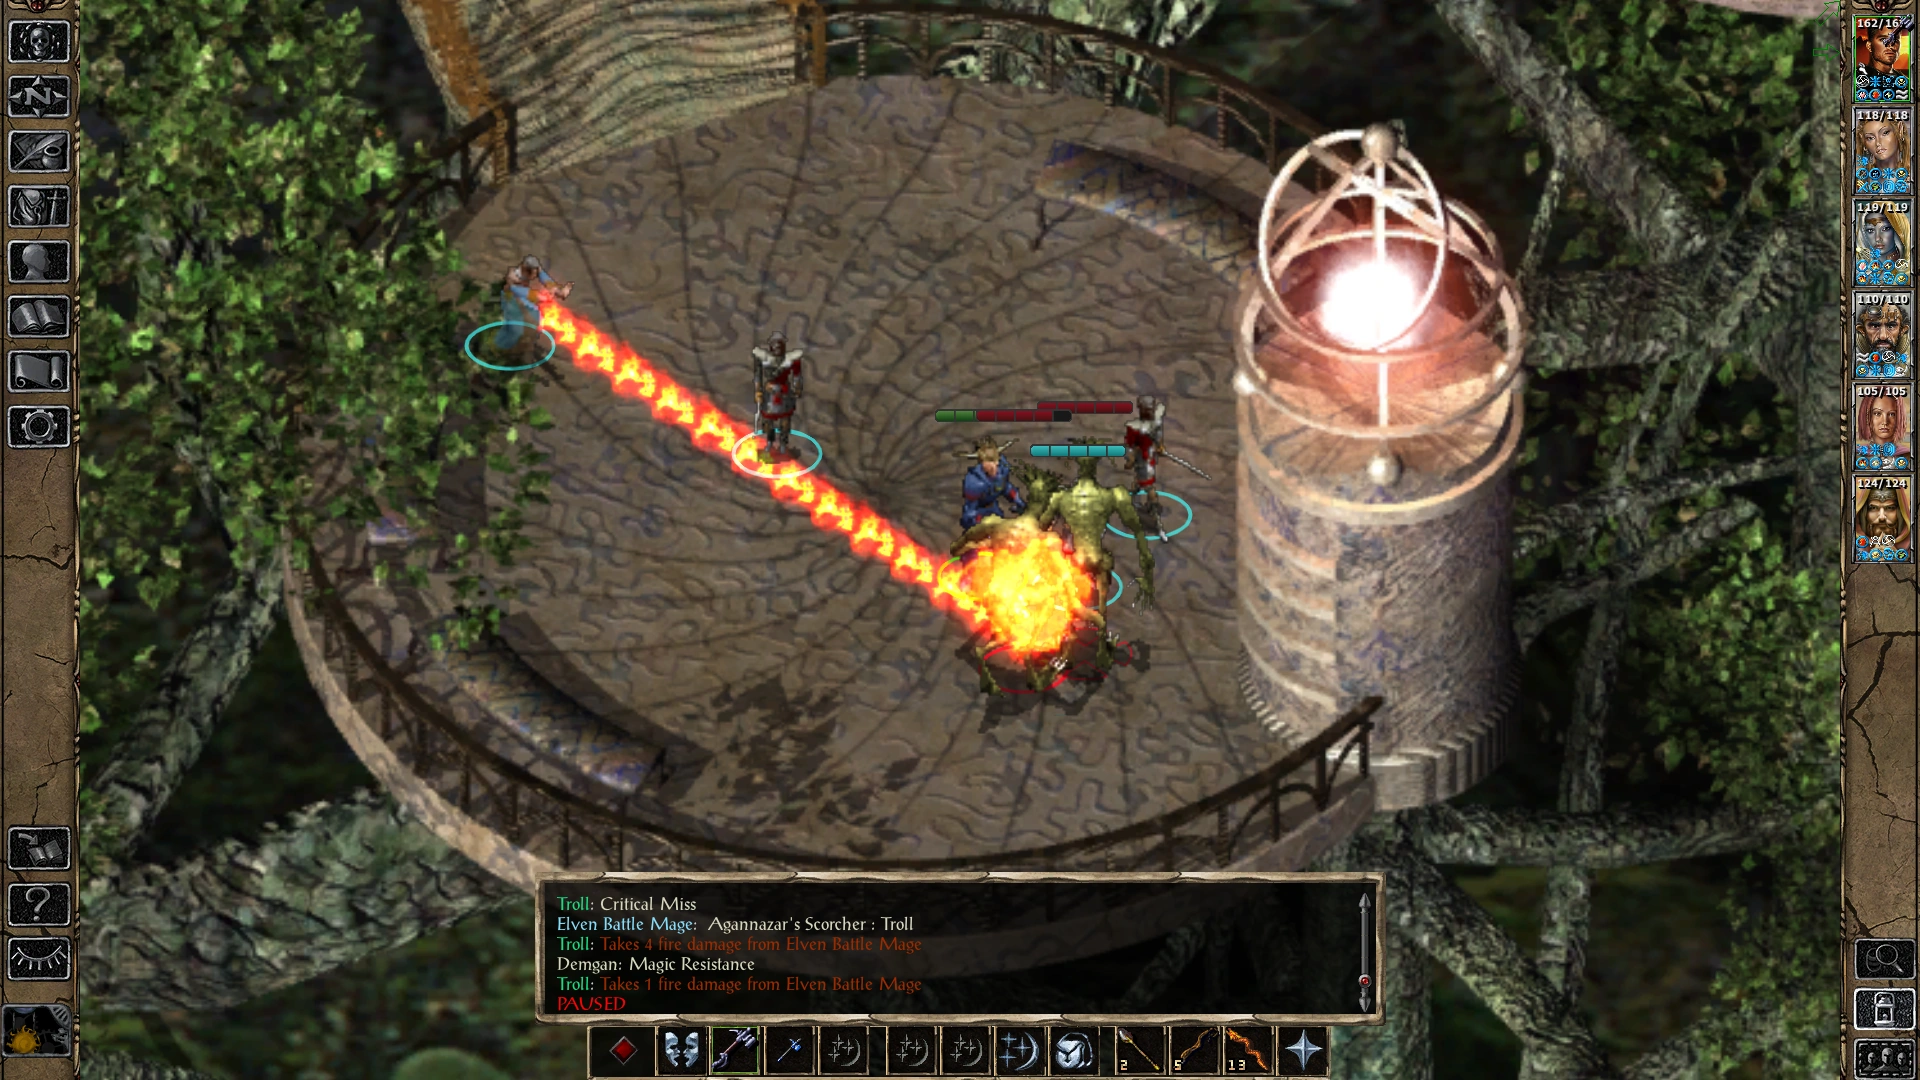
The battle mage will know that fire is needed to take down the beasts. Don't get zapped by the Agannazar's Scorcher.
After the trolls are dispatched the elves move on (they actually leave the map).
Temple of Rillifane exterior[]
A group of rakshasa stand guard in front of the great doorways to the Temple of Rillifane.
The composition of this group is determined by the PC's total experience points.
It might be up to seven Maharajah, Rajah and Rakshasa enemies.
Approaching in stealth is possible in the unmodded game.
If the enemies are able to spot the party, they will most probably get a few preliminary spell casts off at the outset of hostilities.
The raks will move toward party members to engage in swordplay - and probably cast offensive spells, as well as battlefield AoE attacks, like Cloudkill and Ice Storm.
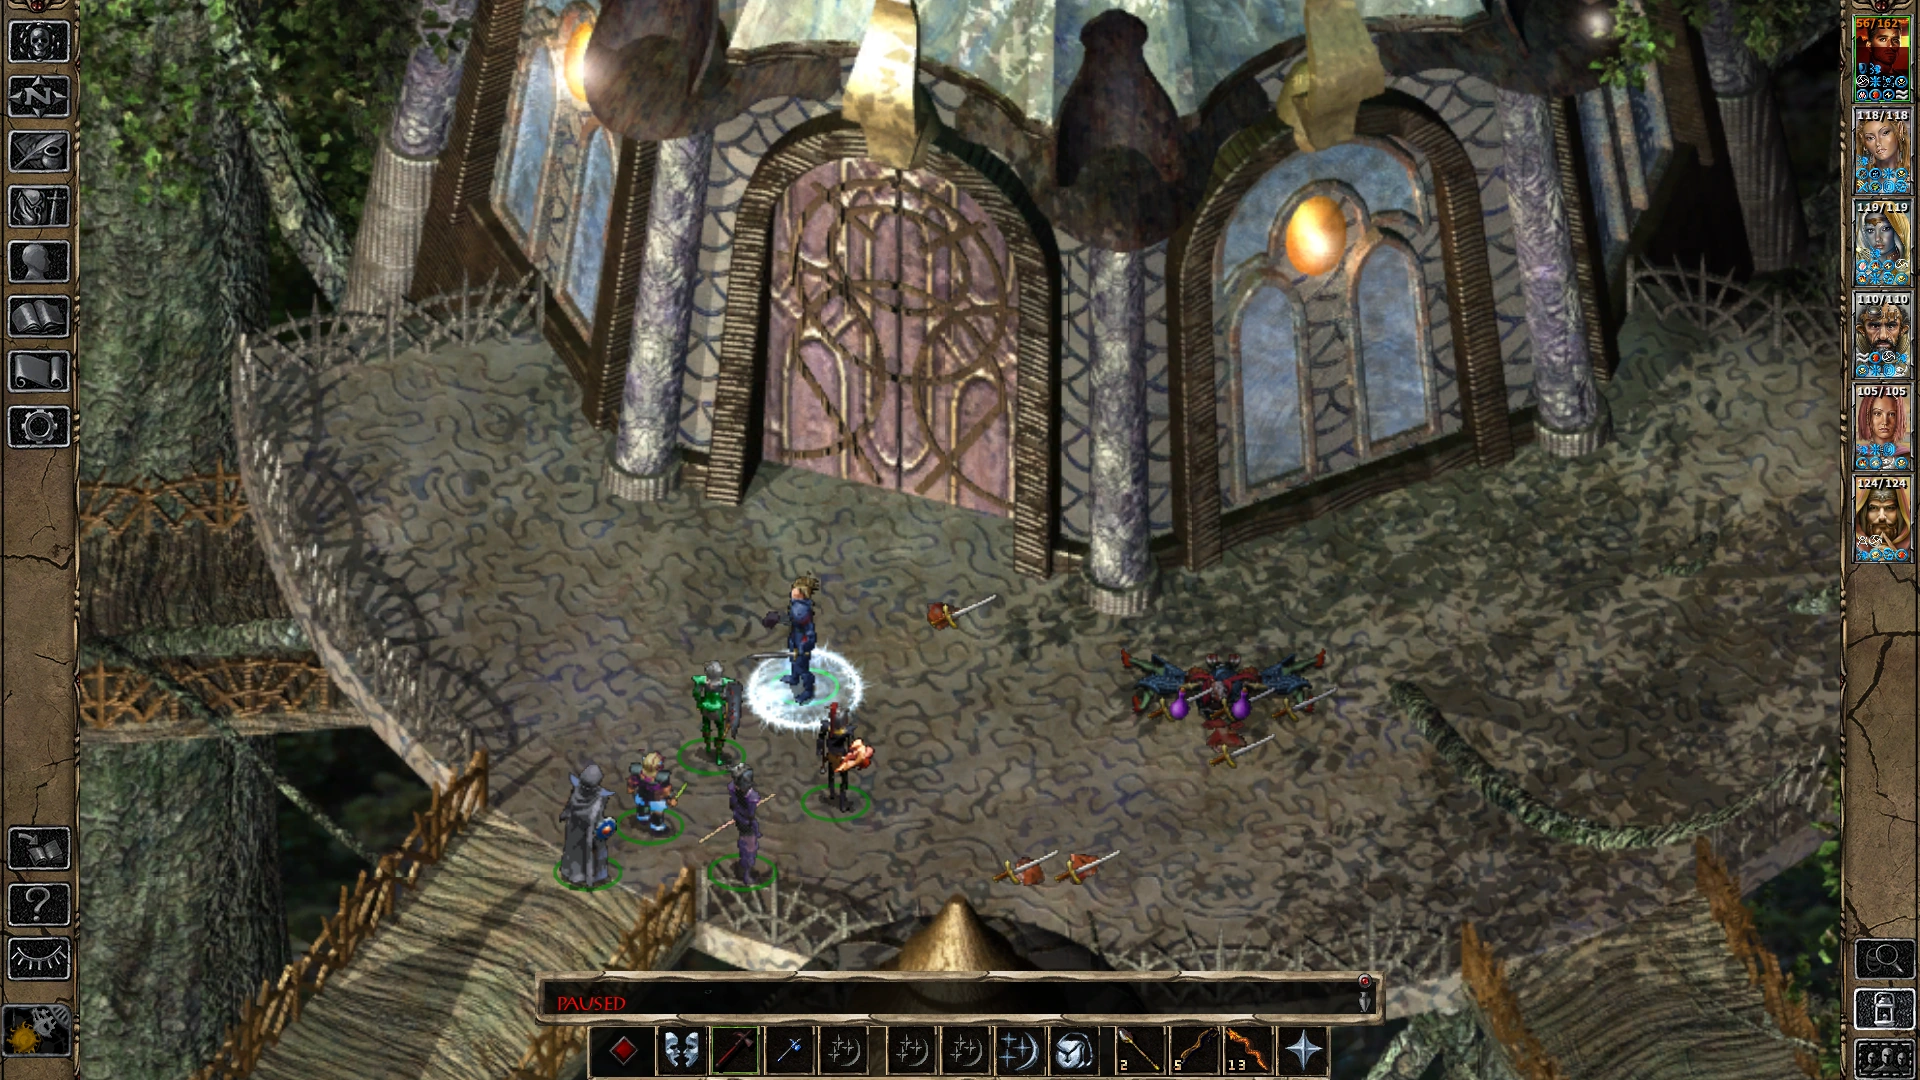
If the party is able to destroy these evil predators, the temple doorway can be opened, and may enter within when ready.
It may be prudent to anticipate that hostile forces are inside this temple.
Such an important facility was likely targeted by Irenicus's invaders.
Preparatory spell casting and buffs could be a smart plan before moving inside.
Temple of Rillifane interior[]
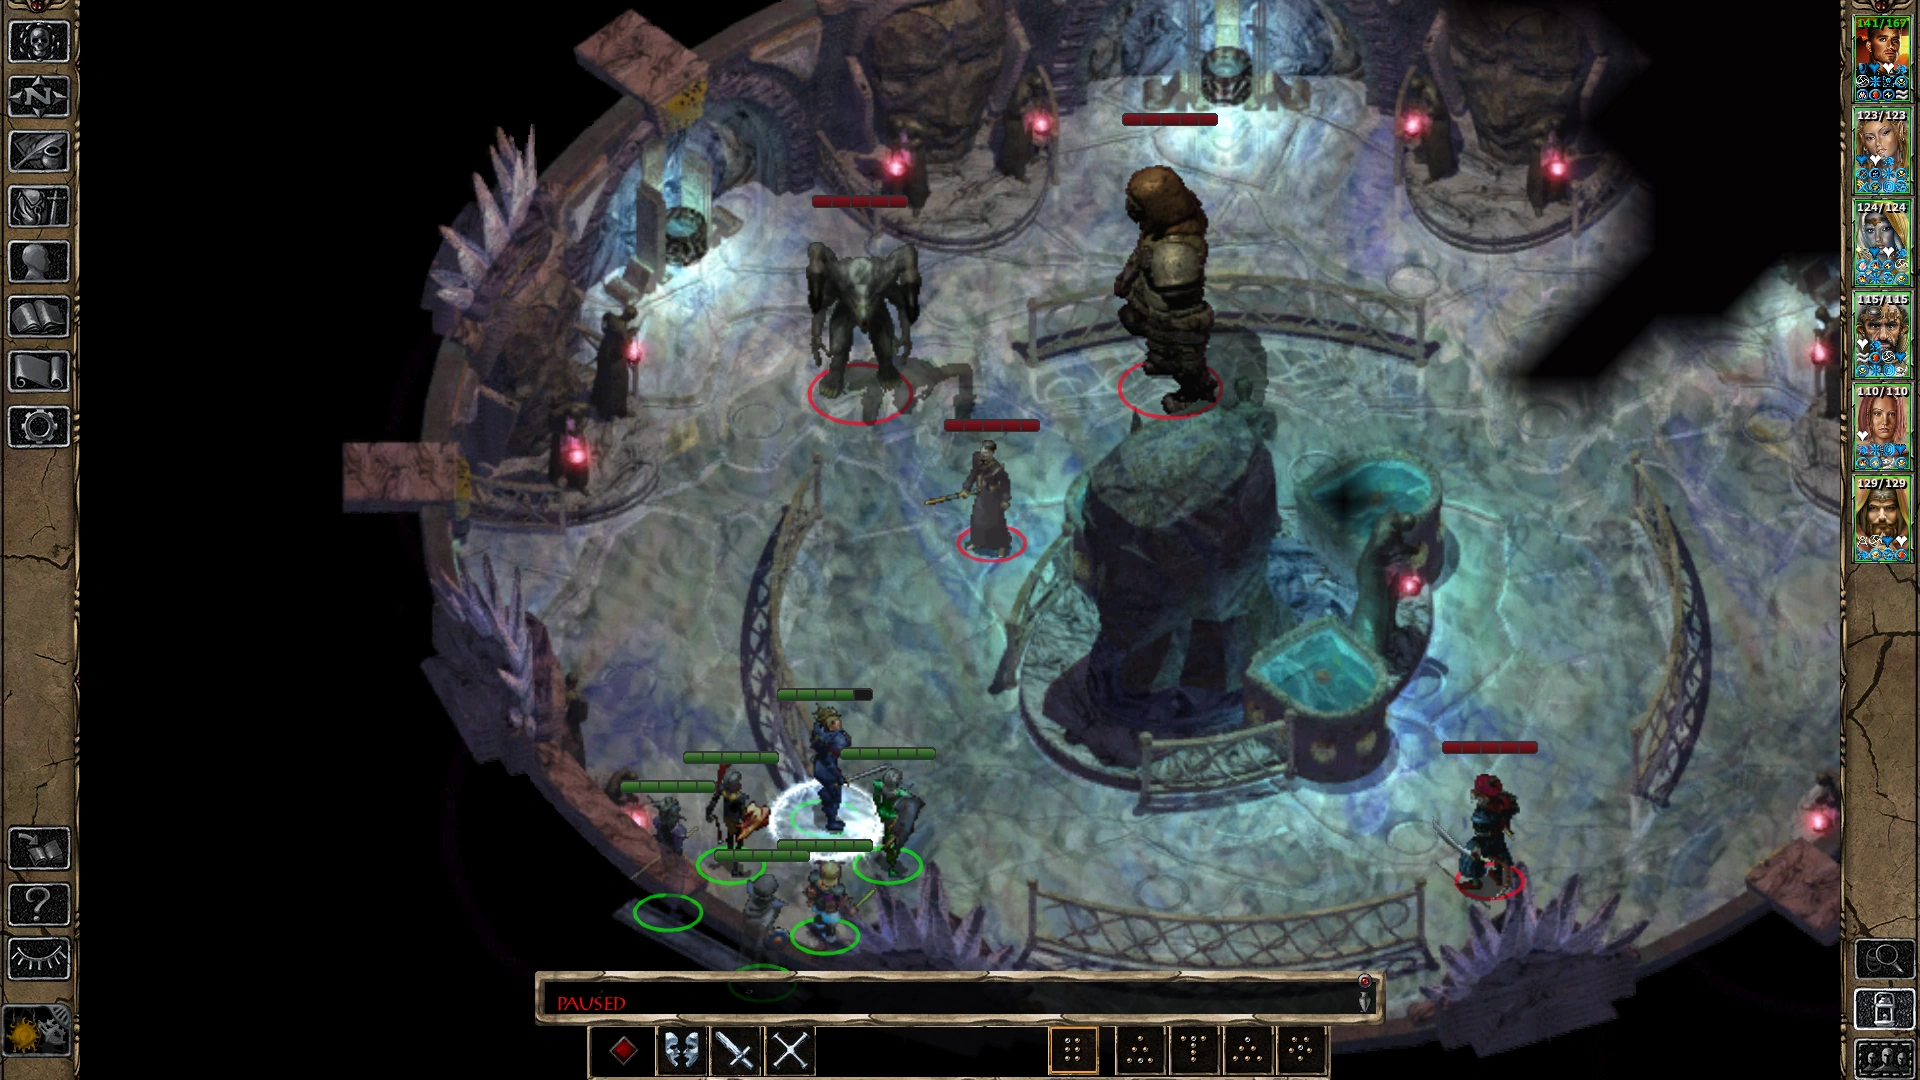
Stepping inside the party quickly takes in the beauty of this house of worship to the leaf lord, Rillifane.
However, the foul presence of a fiendish Glabrezu, a hulking Iron Golem, a Rakshasa - as well as an unknown mage - spoils the scene.
Before any action can be directed, the male human mage named Suneer addresses the party. He seems impressed by the audacity of entering their conquered temple.
Expect a fight over this area. Suneer has use of several dangerous spells. If the party is able to persevere, loot the mage's body. Of note is that the Altar to Rillifane is found inside the temple. You understand that this is where several artifacts must be placed in order to awaken the Avatar of Rillifane. Return to this temple when ready to execute that action.
House of the Talisman[]
Outside a structure that hasn't been yet explored, the party is relived to no find any enemies.
The structure is labelled with two Automap notes. On the ground floor is a doorway to The House of the Talisman.
Climbing an exterior staircase leads to The Priest's House.
Enter the ground floor and see what's inside. Visit the link to see a description.
The Priest's House[]
The party can climb the stairs outside the House of the Talisman to enter through the door to The Priest's House.
See the link above for a description of what's within the second-floor house.
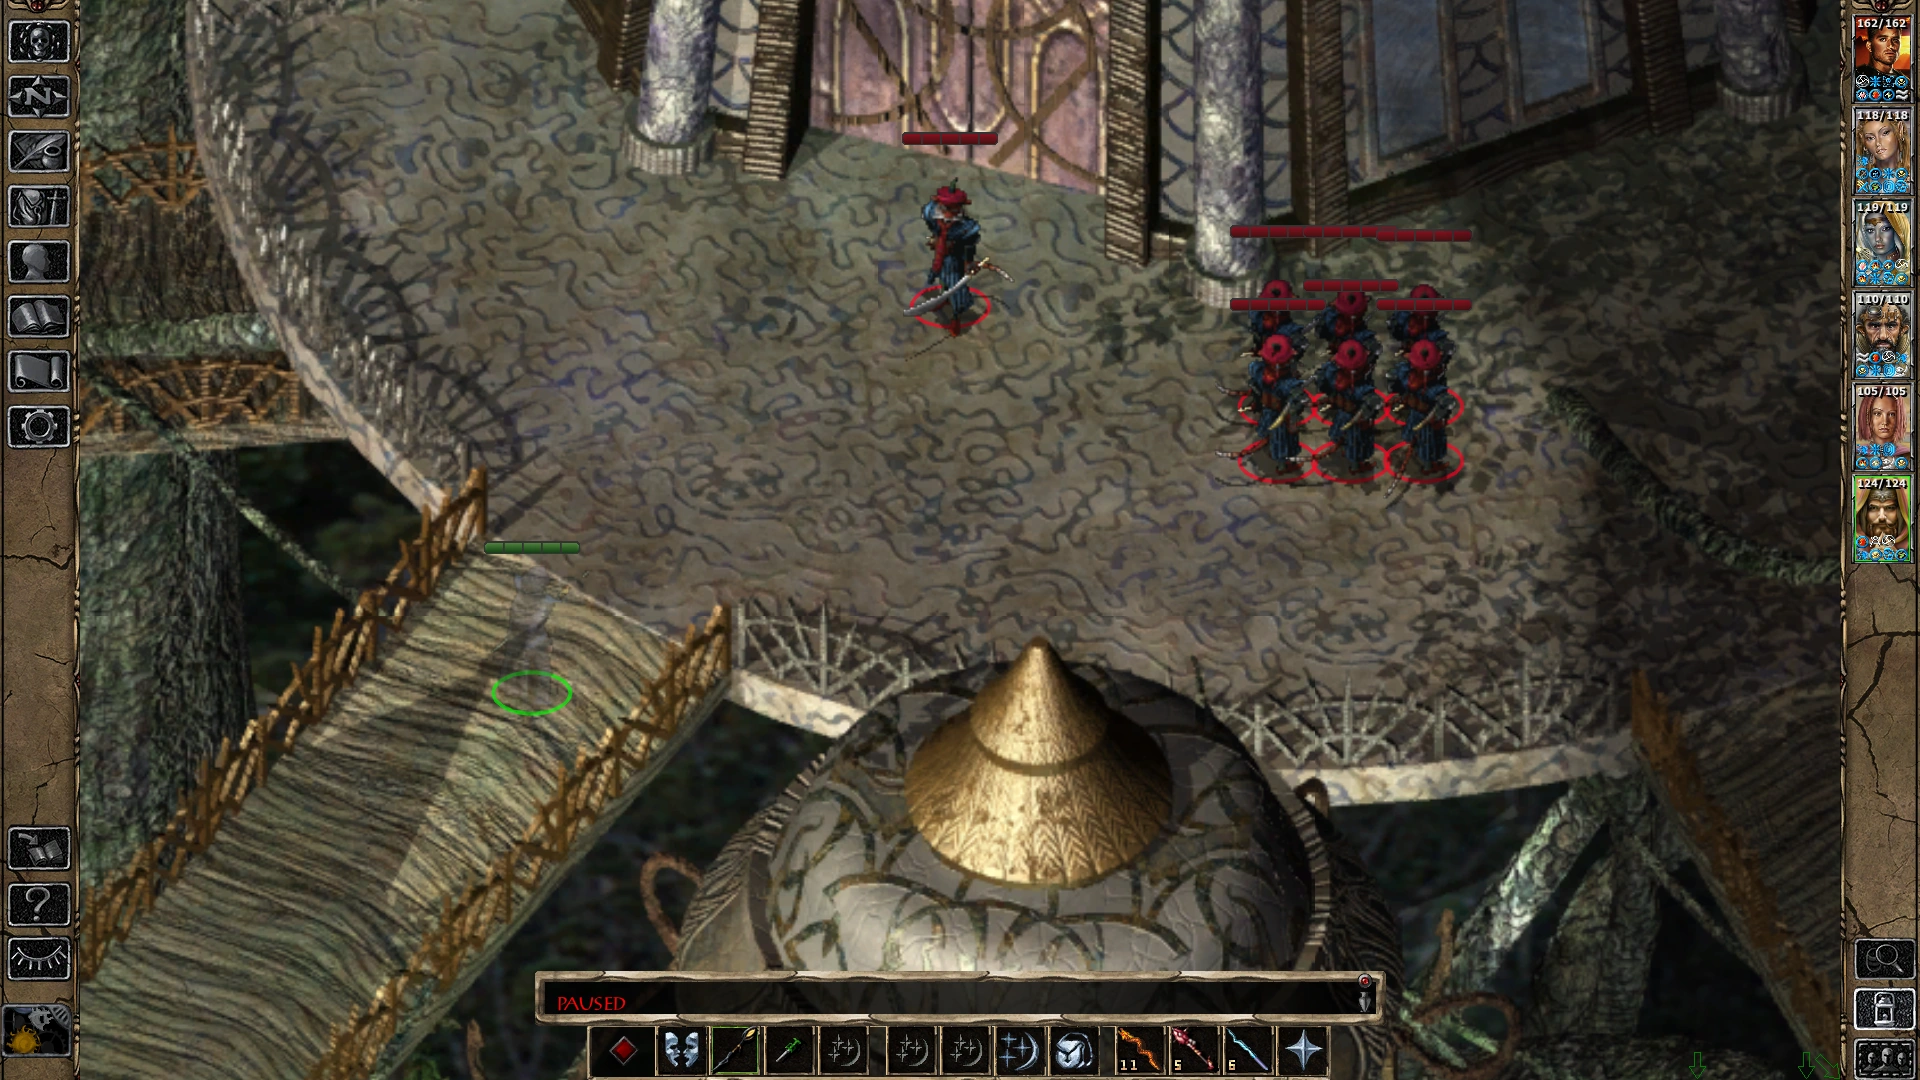
Elven warriors vs. skeleton warriors[]
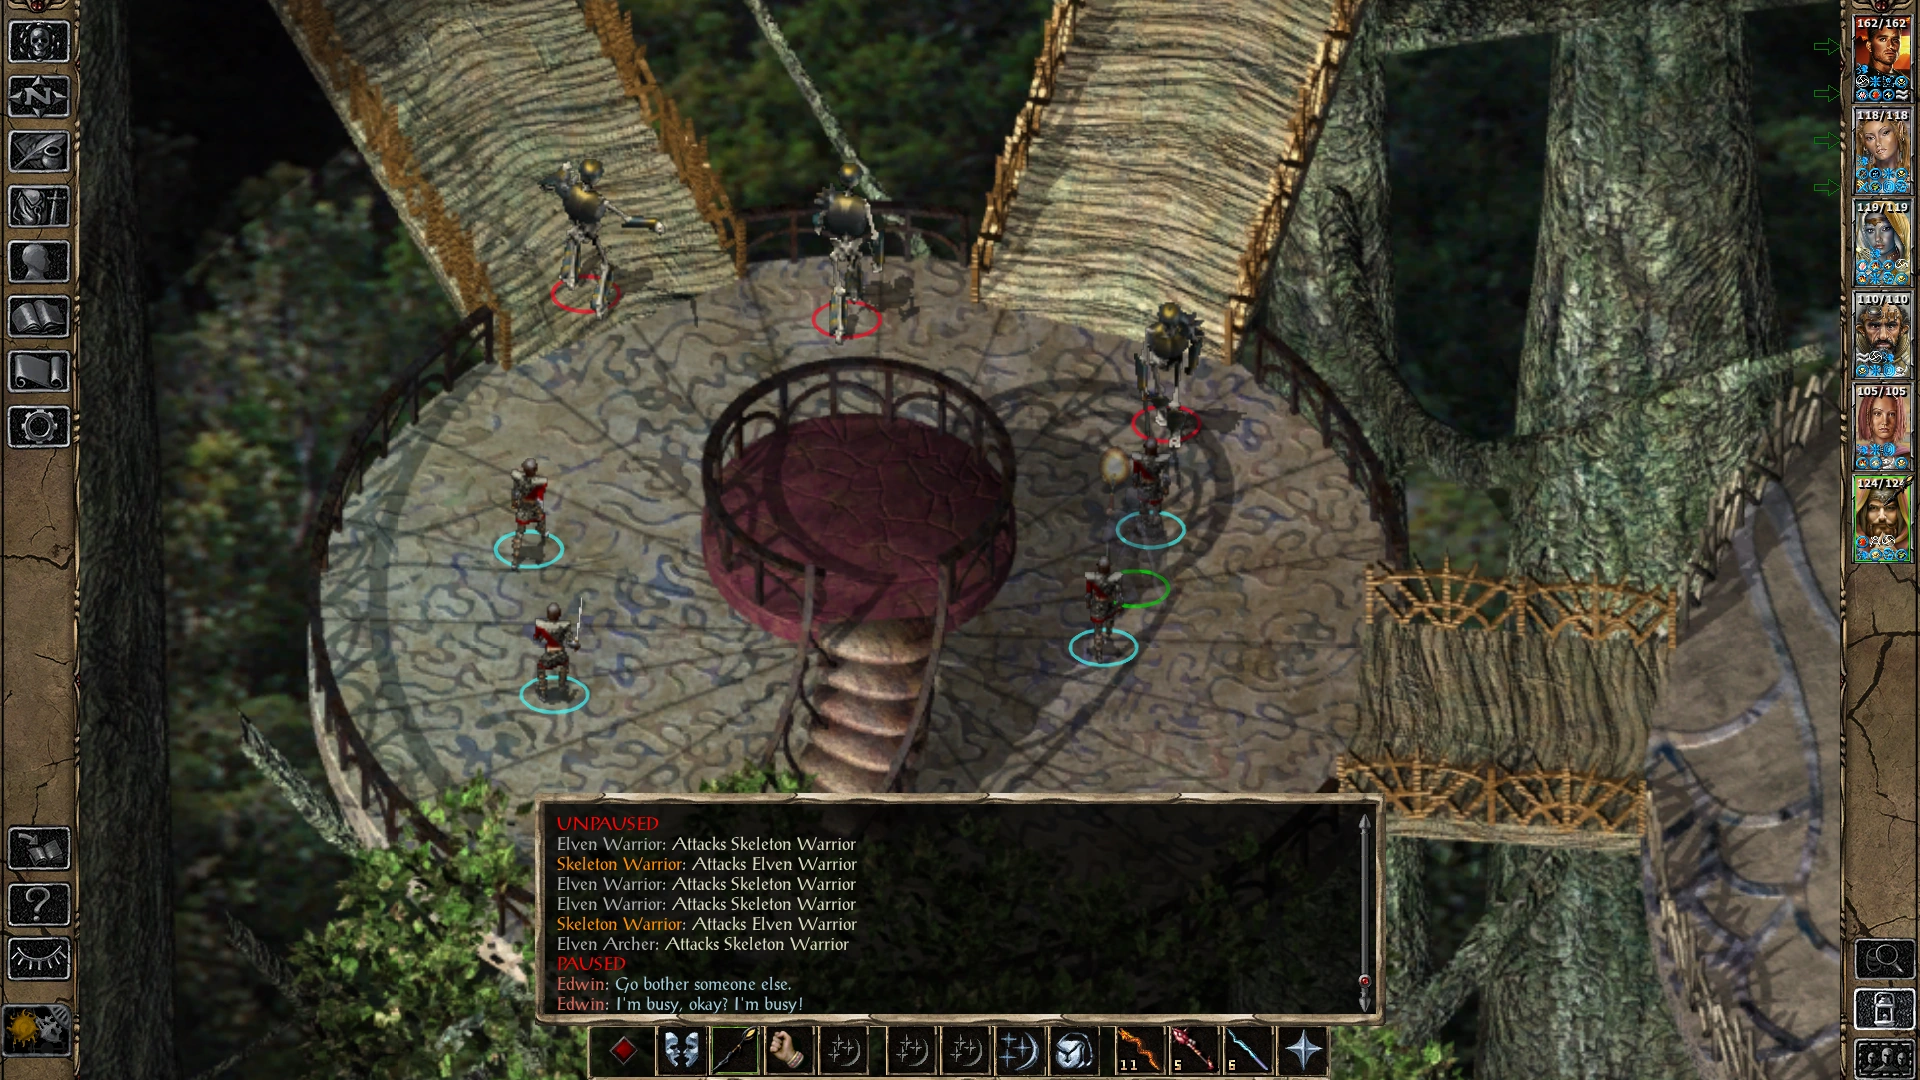
A round platform in the southwest part of the city can be traversed by the party on the way to Demin's House.
The party will first hear and then see a heated battle beginning which pits Elven Archer and Elven Warrior forces against a trio of Skeleton Warriors.
The party can lend a helping hand if they wish. When the skeletons are destroyed, any remaining elves will move out and disappear off the map.
The undead drop enchanted weaponry and sometimes have a Random treasure and helmet.
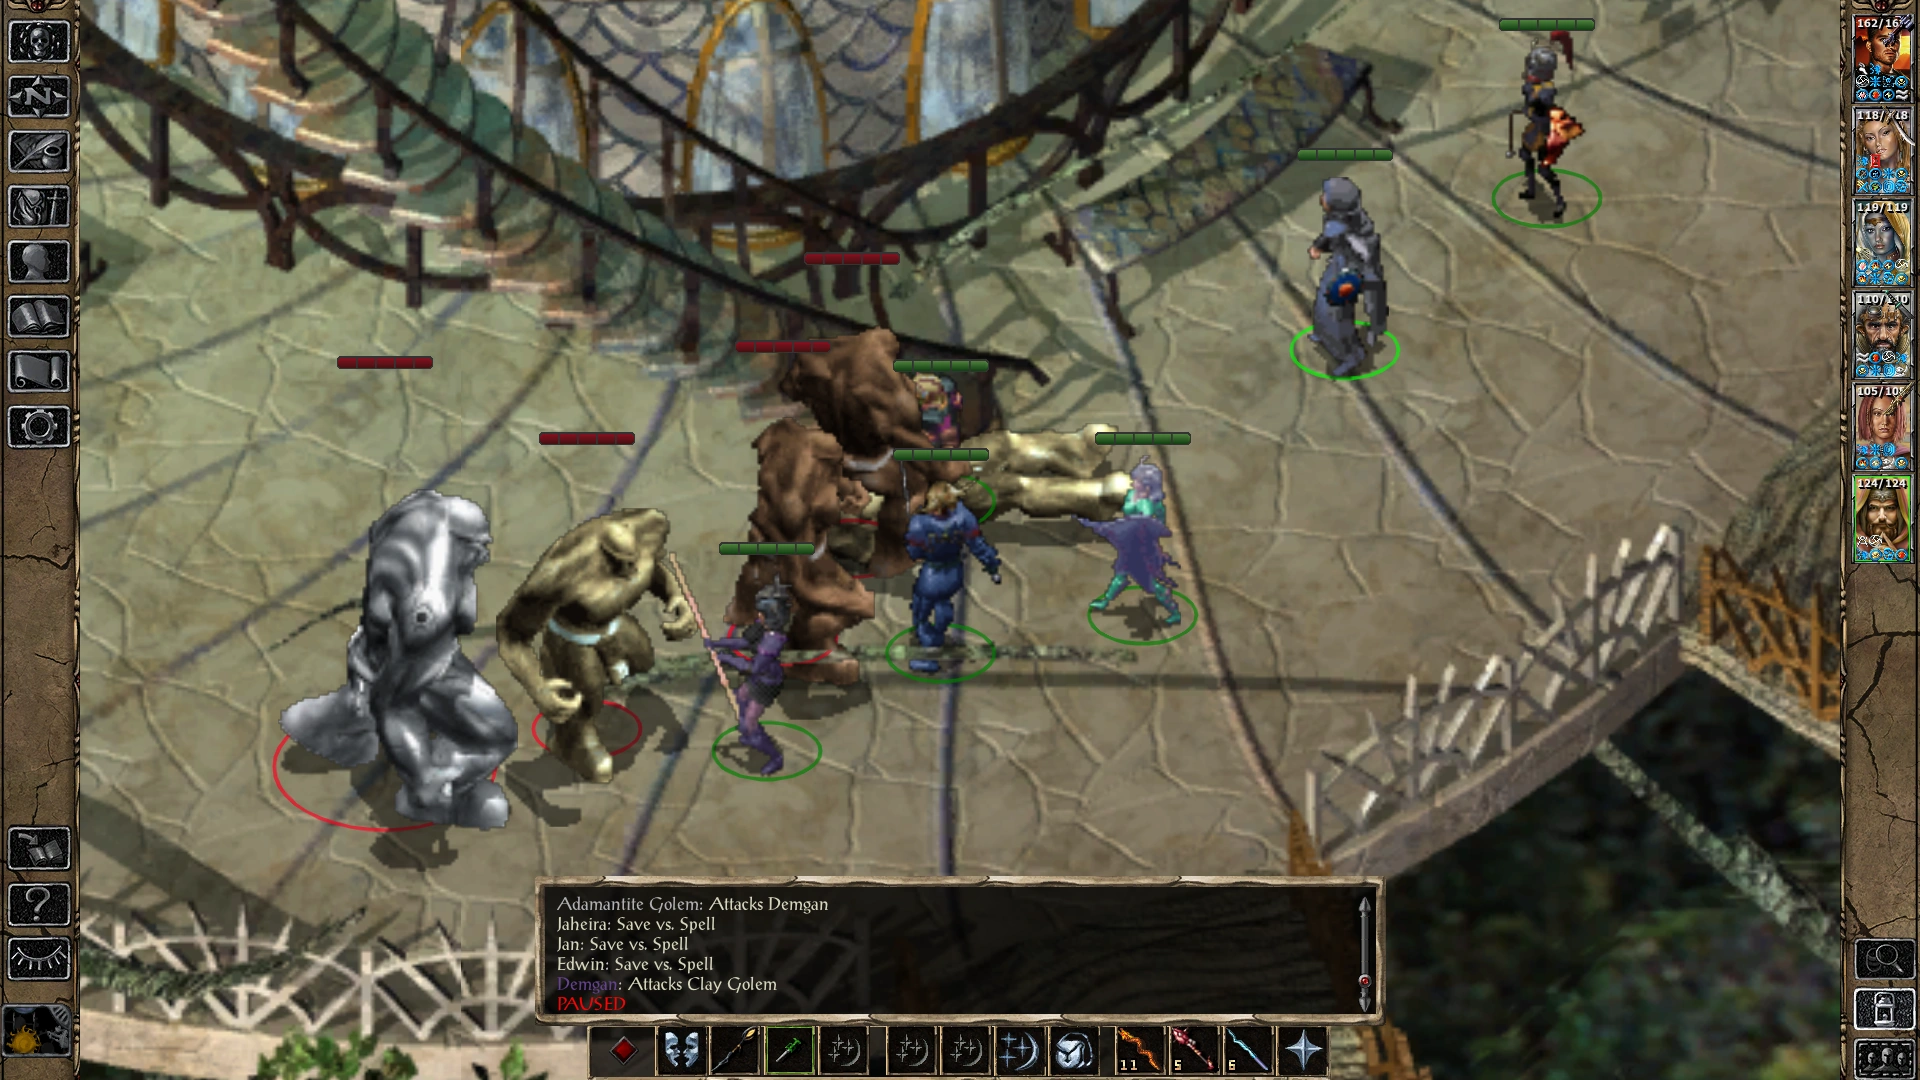
The Harpist's House[]
At some point the party will need to visit the Harpist's House.
As the party nears the structure, a confrontation between Elven warriors and a mixed group of golems is seen.
The composition of the enemy golem group is determined by the PC's total accrued experience points.
Help out the elves, or they will eventually be killed. When the golems are destroyed, any surviving elves will move away and leave the map.
Enter The Harpist's House when ready. See the link for what's inside.
The House of the Moon[]
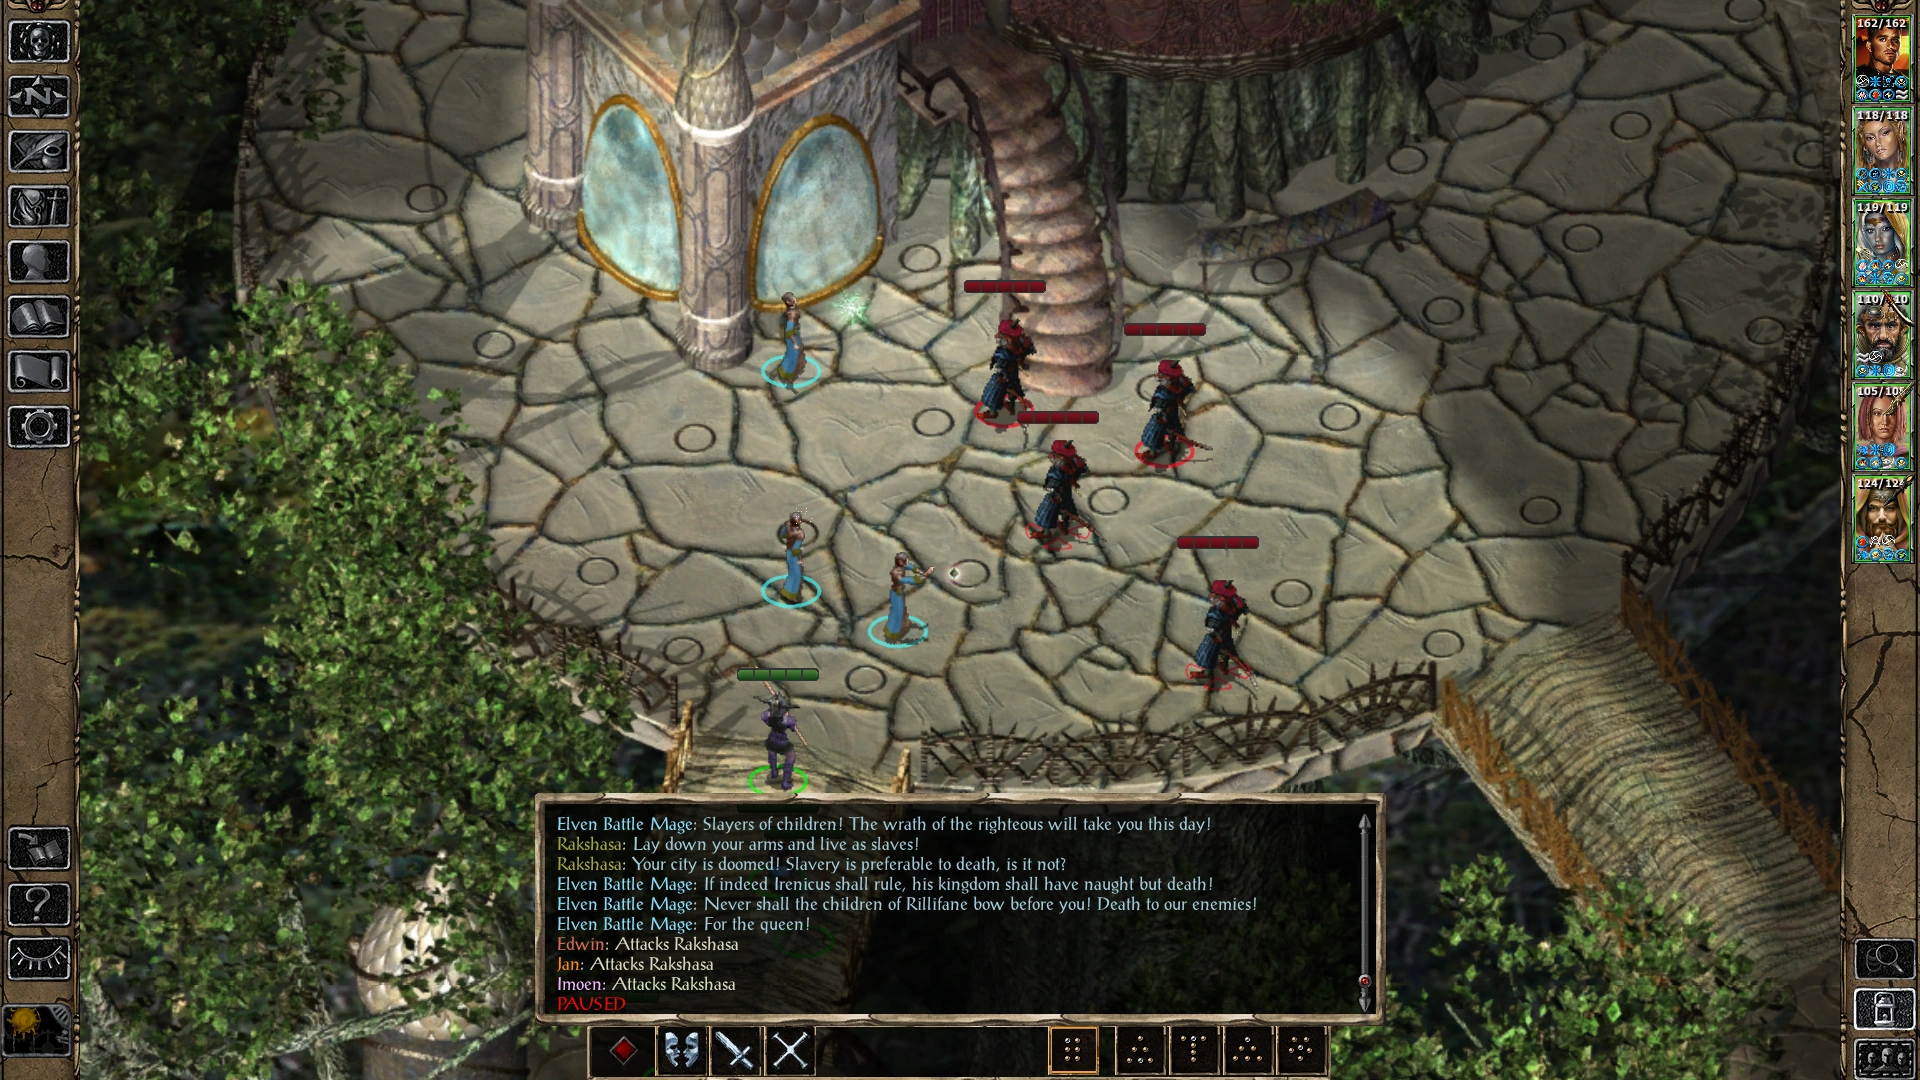
For quest completion purposes, the party must visit and enter The House of the Moon.
As the party approaches, they'll observe a confrontation between a Elven Battle Mage group and several Rakshasa enemies.
The battle between the adversaries begins immediately. Both parties cast preliminary buffs. The elves shout oaths and battle cries at the rakshasa.
It may be necessary to intervene in this battle on behalf of the elves, as they are outclassed. Help them persevere by attacking the Rak's.
Any surviving elves will leave after the battle and eventually move off the map completely.
Gather any dropped loot from the fallen elves ad rakshasa.
When ready, assemble the party and ascend the stairs on the exterior of the house.
Enter through the doorway. See The House of the Moon page for what's within.
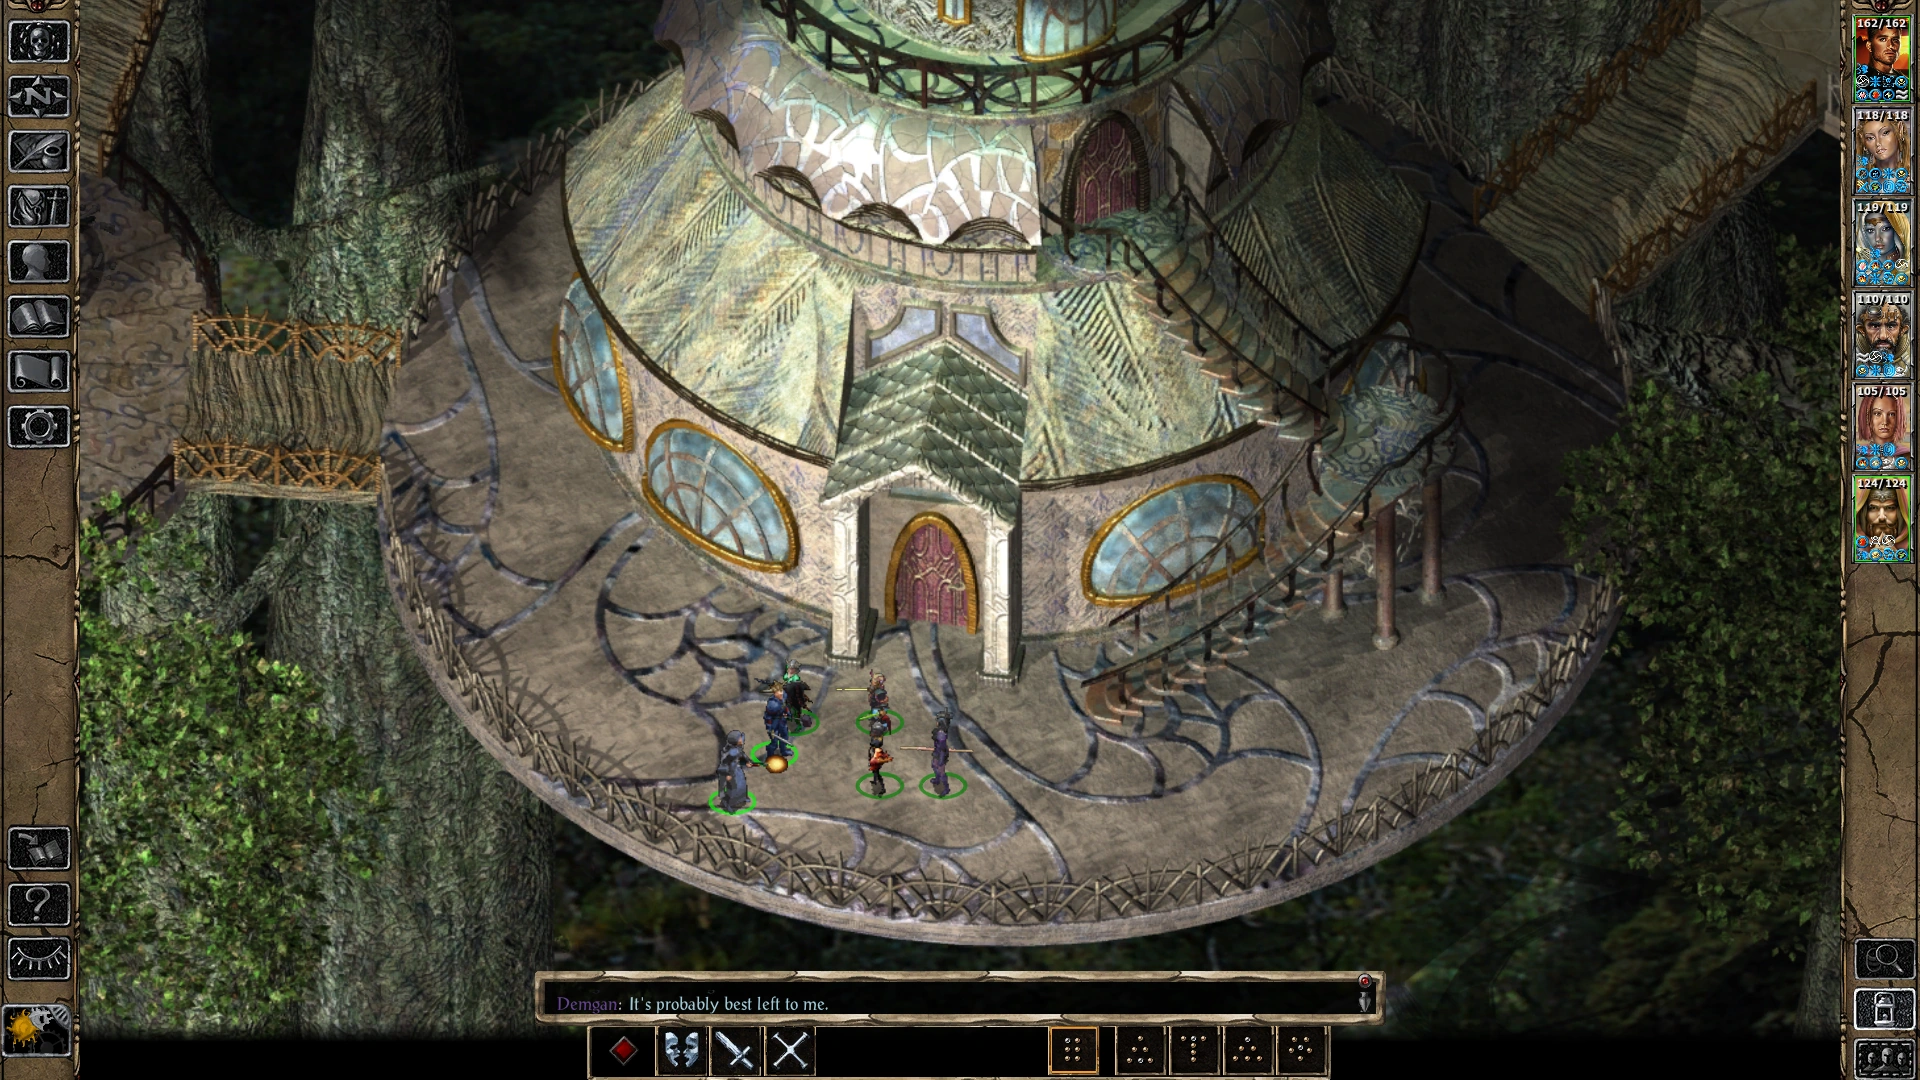
Demin's House[]
The party has been told by several elves including Elhan that the High Priestess Demin has important information to be had.
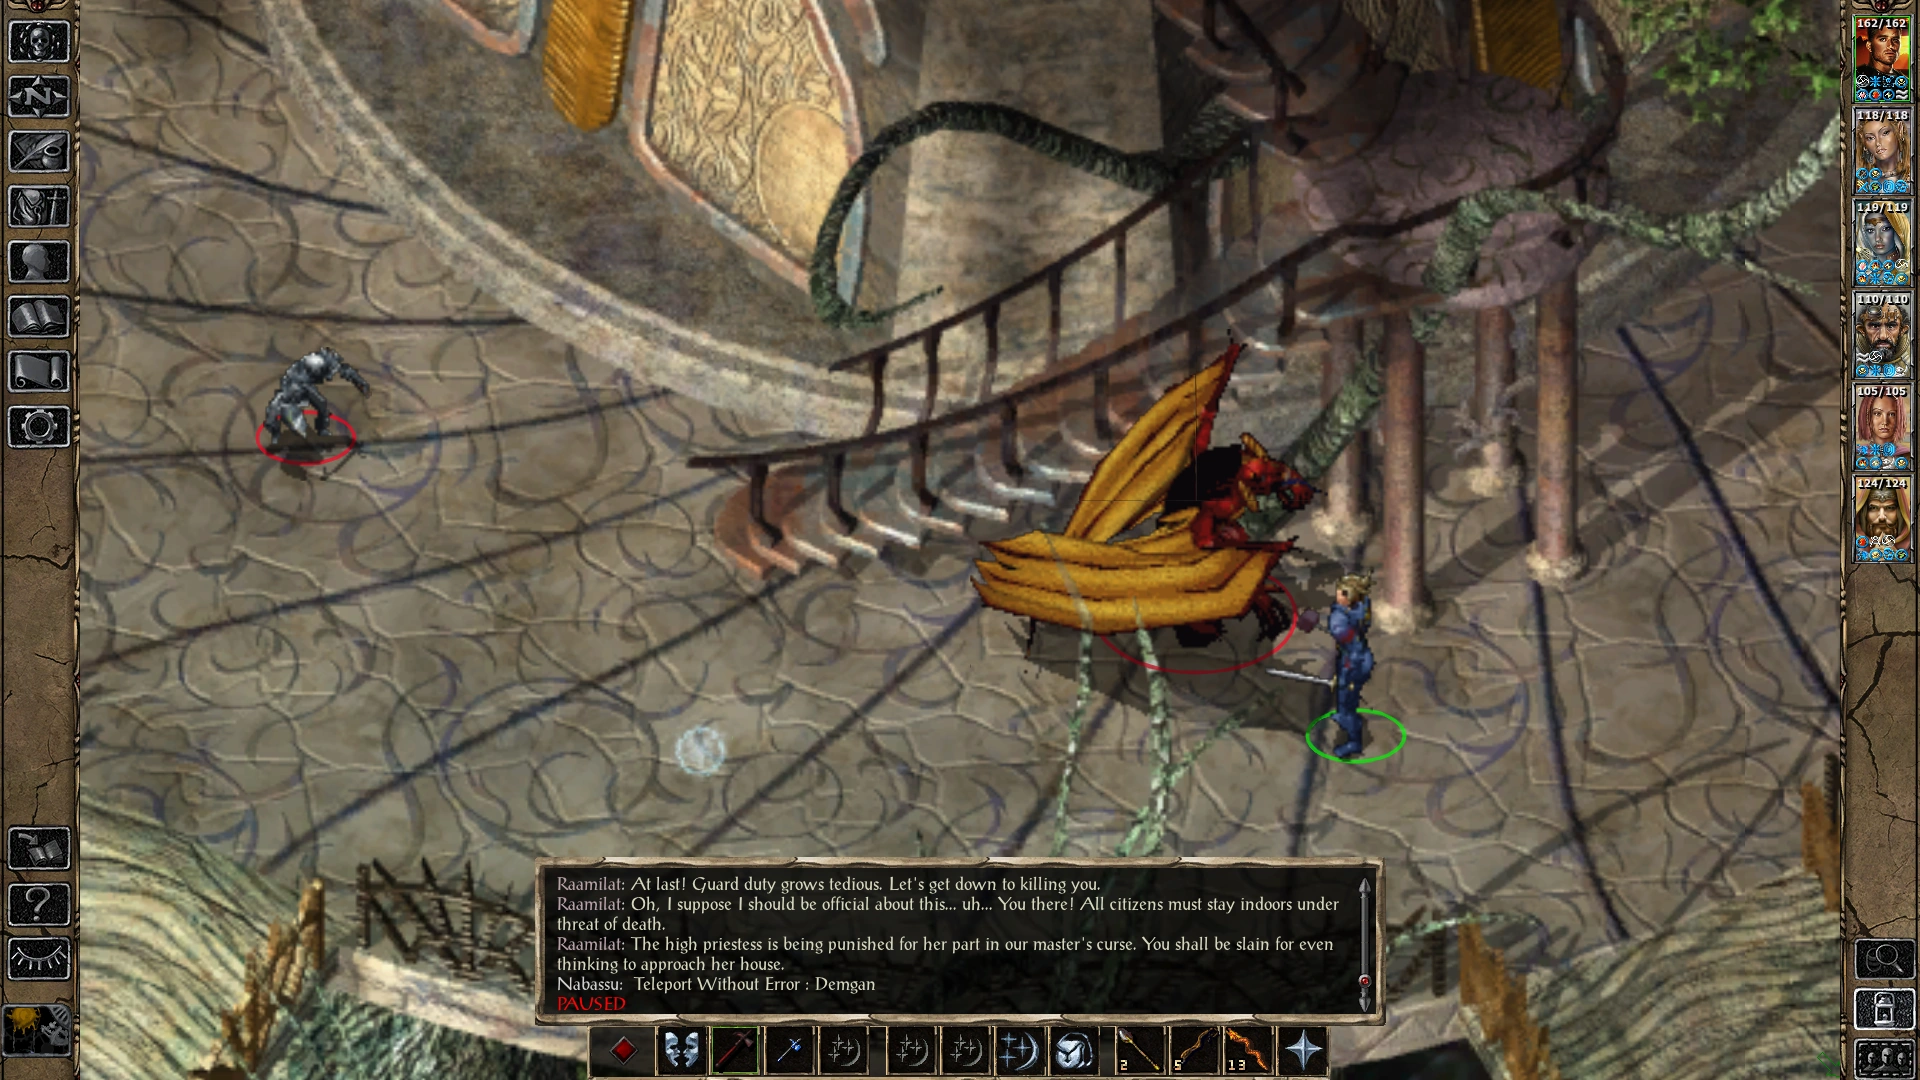
When ready, visit her home. When the party nears the structure, they'll spot a Nabassu and a male drow mage patrolling outside the perimeter.
As the party draws closer the mage Raamilat will shout out a challenge if the party is detected. Even if hidden, the fiend can detect invisible or hidden party members.
After some repartee, the mage and the demon attack. The drow will launch a series of protective buffs to begin the fight.
The mage is quite capable, so expect a challenge if he is able to get his buffs up. When defeated, he drops some gear.
It is time to take the stairs up to the house doorway, enter, and see what has become of the High priestess. See the Demin's House page for what's inside.
The Forest Clearing[]
All the way to the western side of the city is a transition point to the Forest Clearing area. Several elves have given verbal clues that they have seen "The Exile" riding astride a great black dragon over the city.
Apparently, the clearing is where the dragon landed to discharge its passenger. The party must enter this place, as one of the three artifacts needed is likely here.
When prepared, enter the clearing. Note, that the party can leave the clearing whenever they like, and reenter as well.
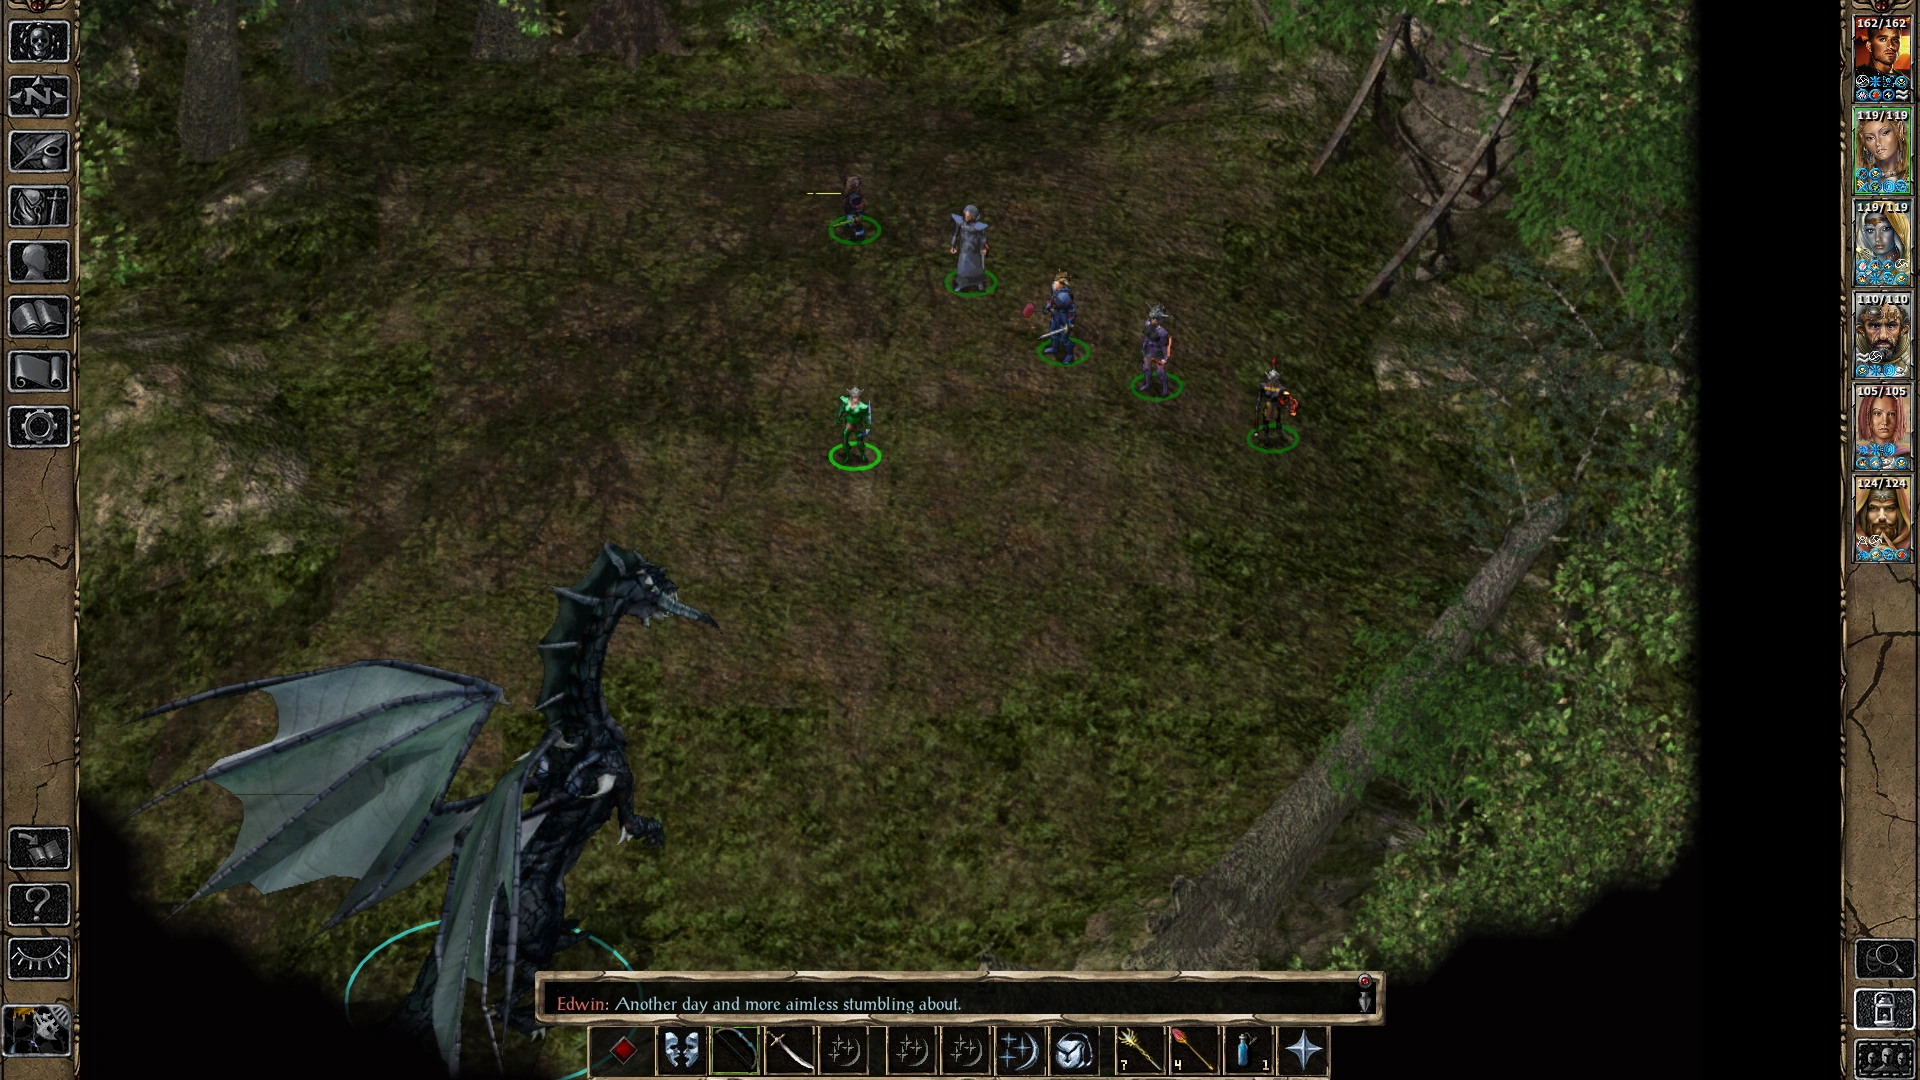
Down a set of wooden steps, the party emerges in a small meadow surrounded by trees. Further along as the party edges forward a hulking black dragon faces the party eyeing you with interest.
If attacked from afar, the dragon will turn hostile. When within normal detection range, the black dragon will initiate contact with a guttural and booming challenge.
See the black dragon Nizidramanii'yt page for details of the encounter.
Approach to the Palace gates[]
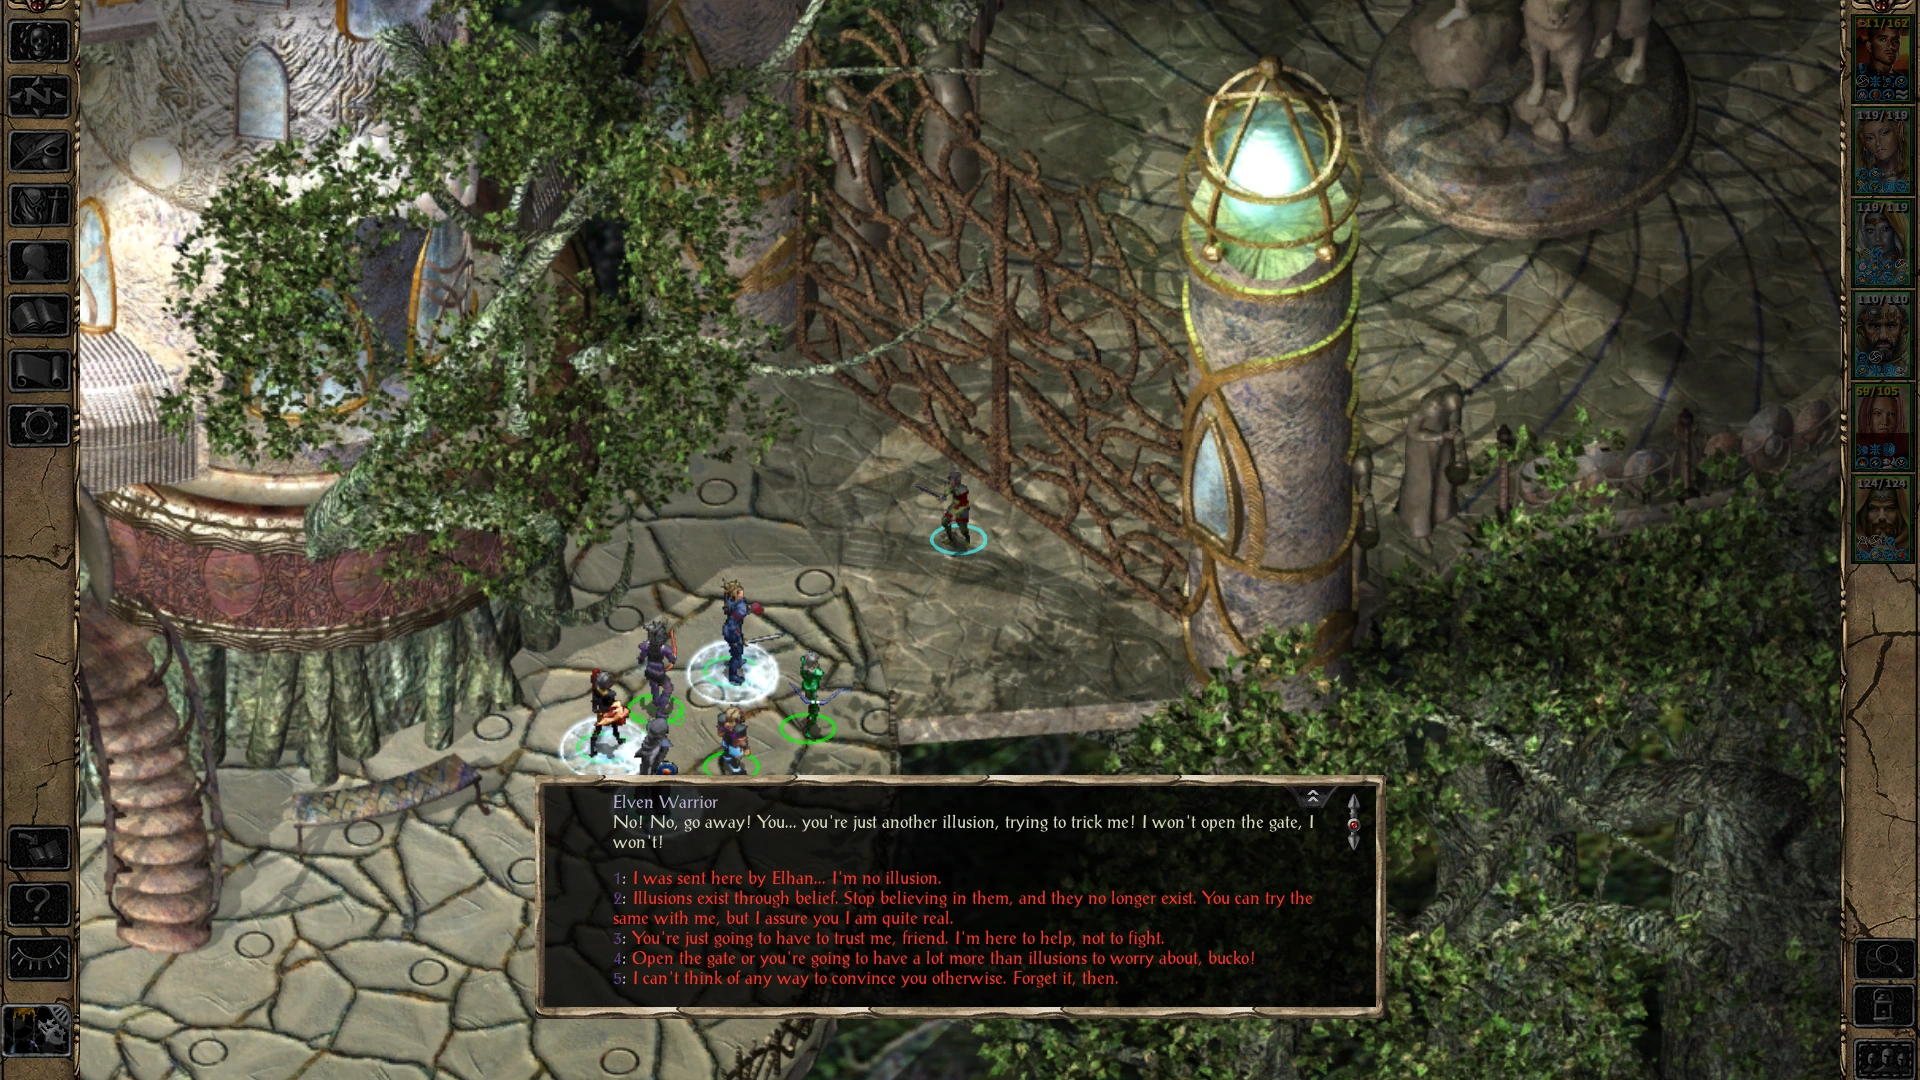
Adjacent to The House of the Moon is a large double gate that is locked. An Elven Warrior stands guard before it. Beyond the gate is a pathway to the Palace leading to the north.
The gate guard is concerned the party is an illusion. The Rakshasa often employs subterfuge and illusions to trick their opponents. This elf can be reasoned with. There are options to allay his fears. Letting him know that Elhan sent the party can help. Note that the party spokesperson's INT, WIS, and or CHA can influence the elf's decision to believe the party. If he believes the party, he will unlock the gate for you, and then move on to find Elhan.
If the party has already awakened the Avatar of Rillifane, which releases Elven Spirits into the city - then the elf will automatically recognize the help the party has helped provide aid and he'll open the gates for you. This is one way to get the gate opened if for some reason you failed to convince the guard earlier.
There is also a less obvious "backdoor" pathway to get near the palace without having to pass through the main gates. Over by The House of the Horn is a narrow meandering pathway that was quite possibly ignored by the party earlier. The downside of taking this path is missing out on the scripted plot events that are set up to be discovered if you take the "correct" path through the palace gates.
Through the first gate to the palace[]
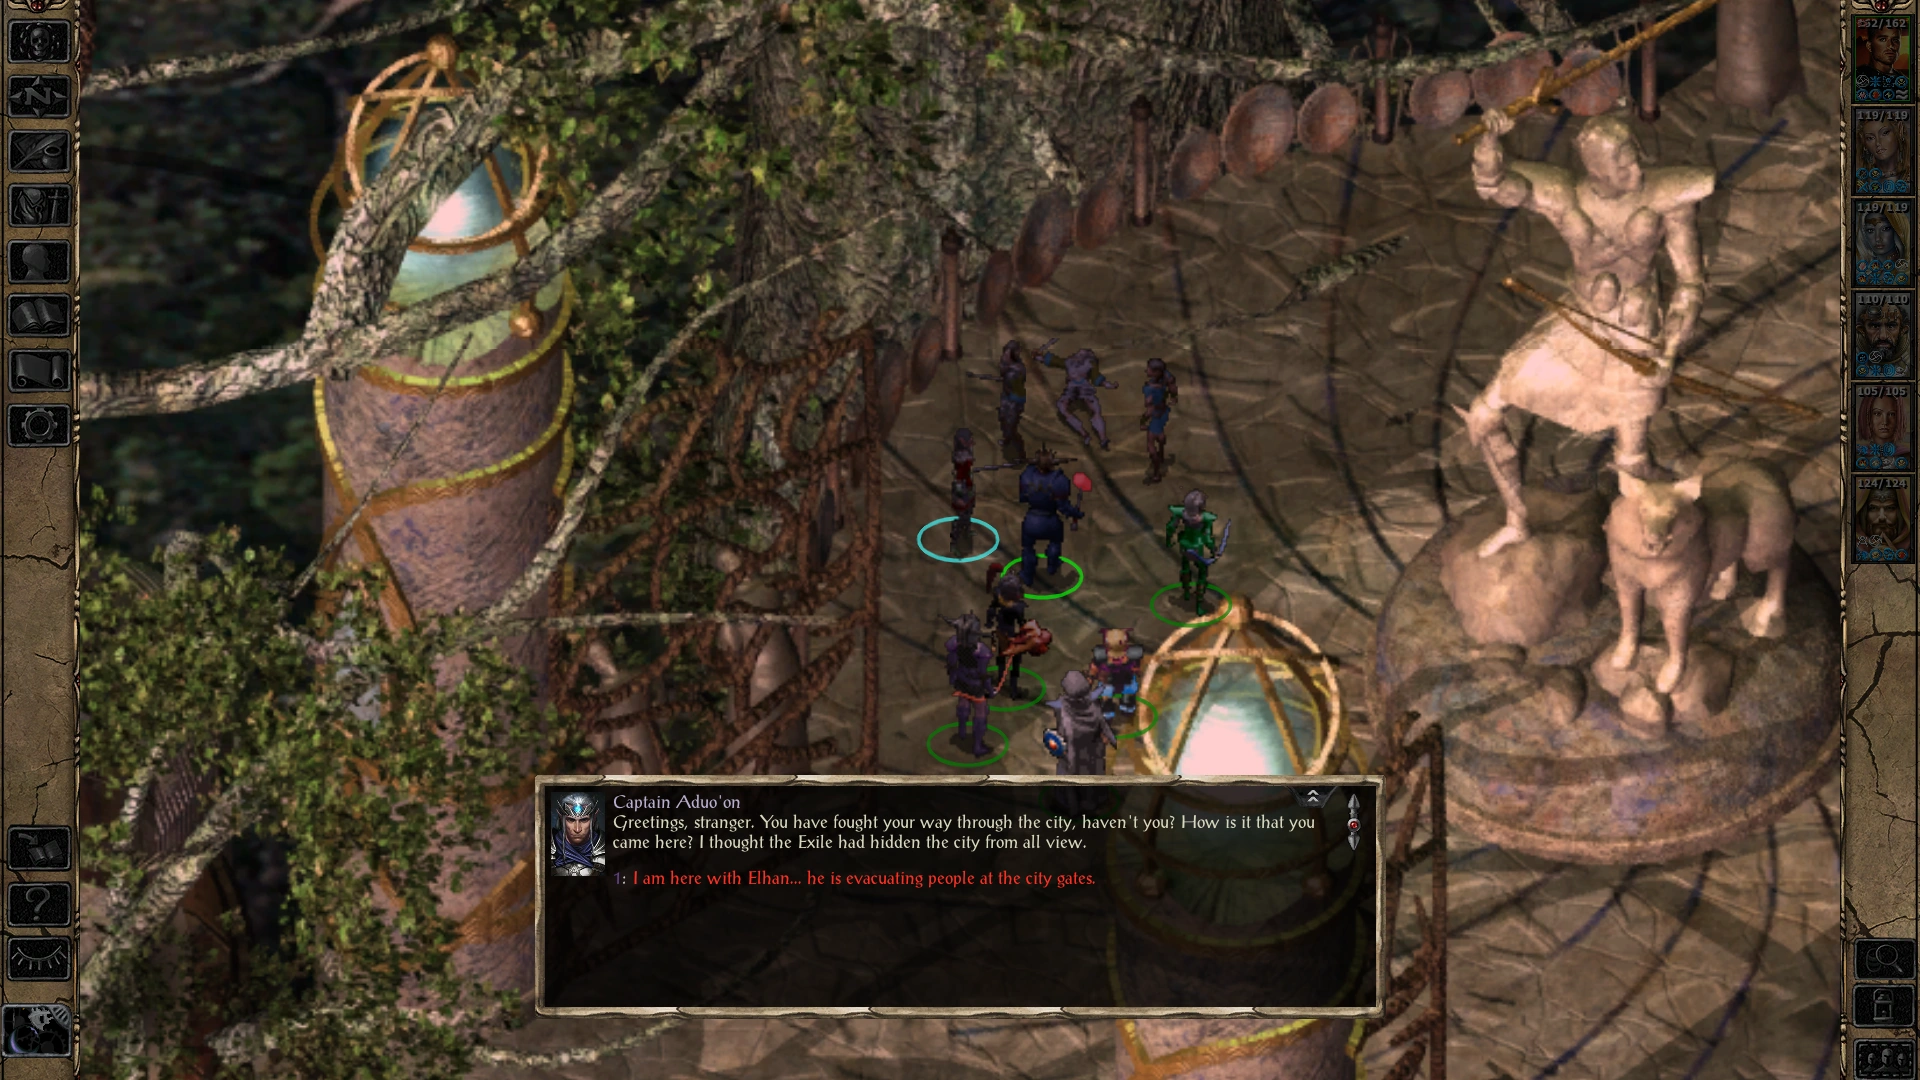
Moving onwards the party observes a group of elves near a wonderful statue of an elven hero and a hound. One warrior is obviously prone and heavily injured, another stands nearby with bandages, also wounded. An attending elven female is administering healing, and an elven male dressed in high quality mail stands ready, looking at the party.
Speak with any or all of them if desired. They do not initiate conversation. Speak with Captain Aduo'on for information about the city's battles so far. Talk with Reirra, who can offer healing to party if required. Each Wounded Elf has some remarks about the difficulties and horrors they have endured.
North of this group is another locked gate, and the Palace exterior is beyond.
Through the second gate to the palace[]
This gate can be lockpicked, forced open with brawn, or a Knock spell will suffice.
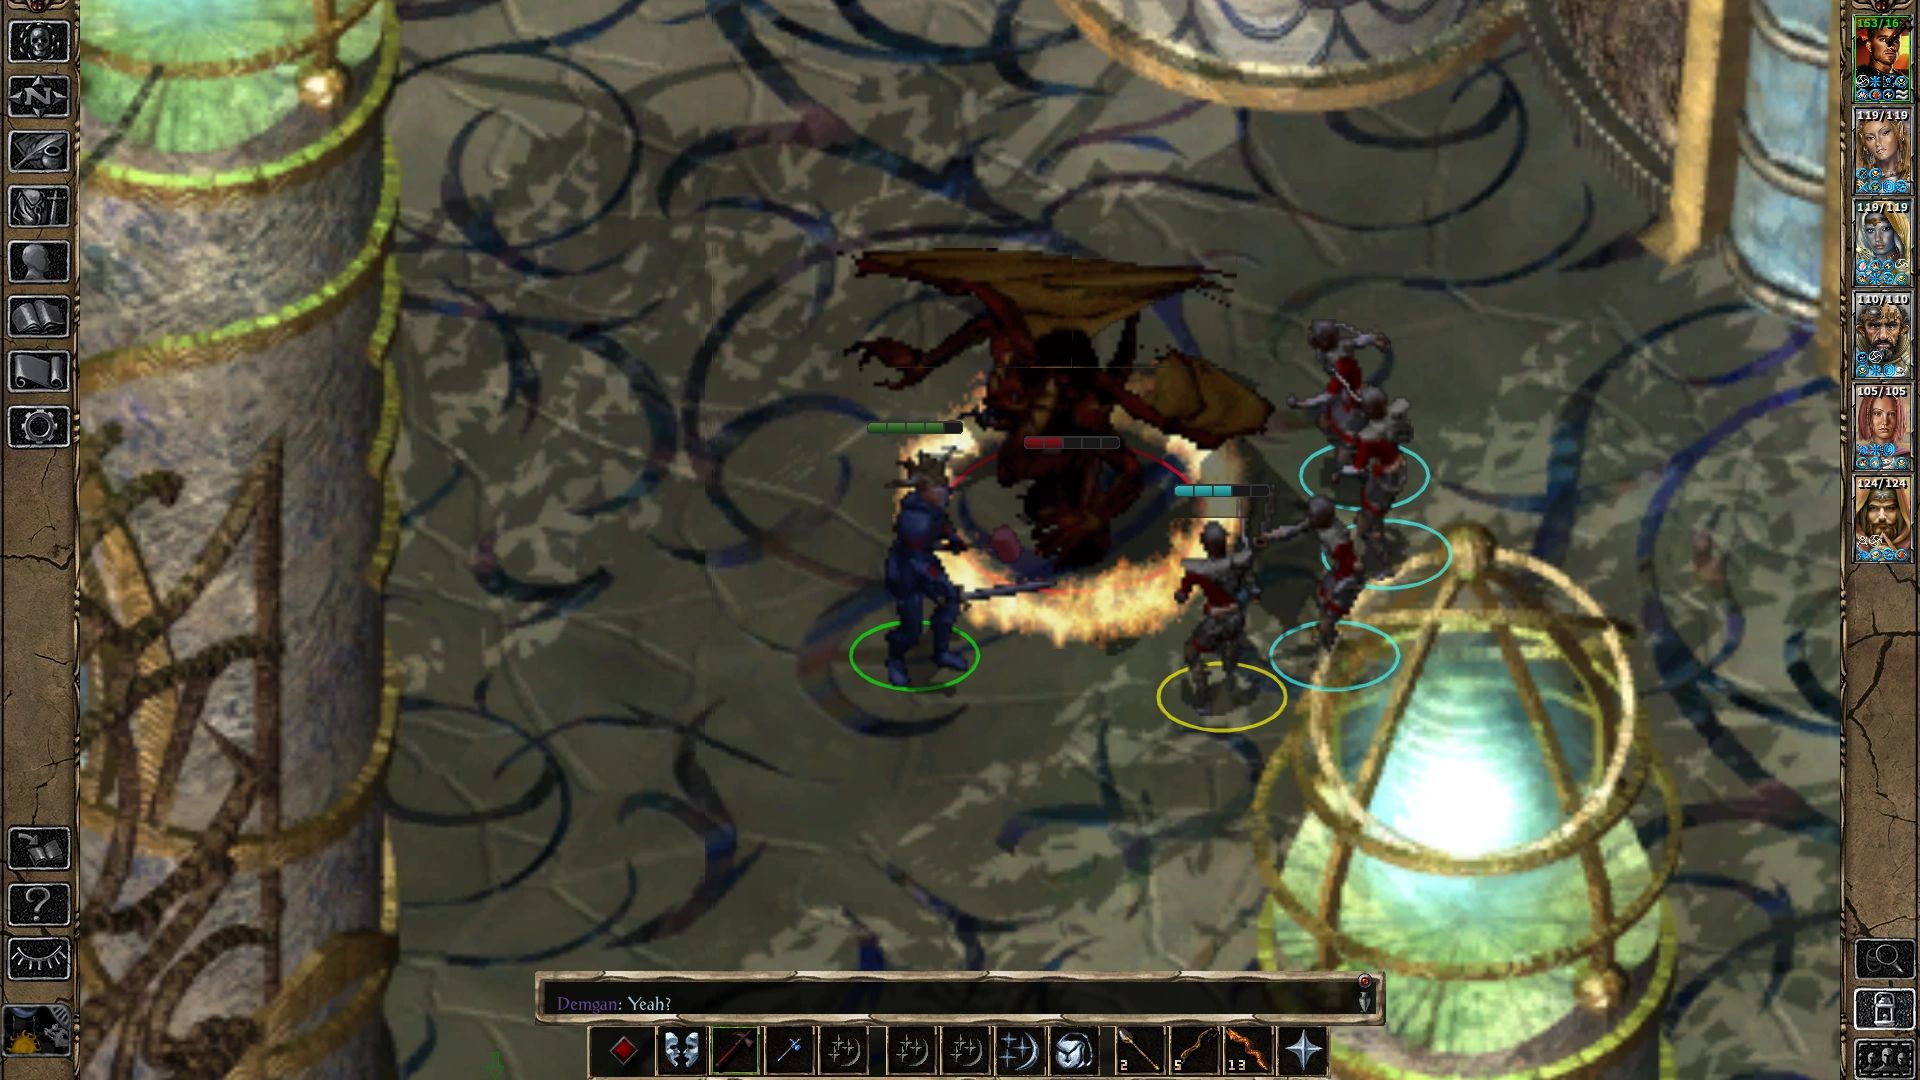
an Elven Warrior group is near the palace main doors and face an infernal Balor. The party has arrived in the nick of time to lend a hand/sword and assist these valiant but probably doomed elves.
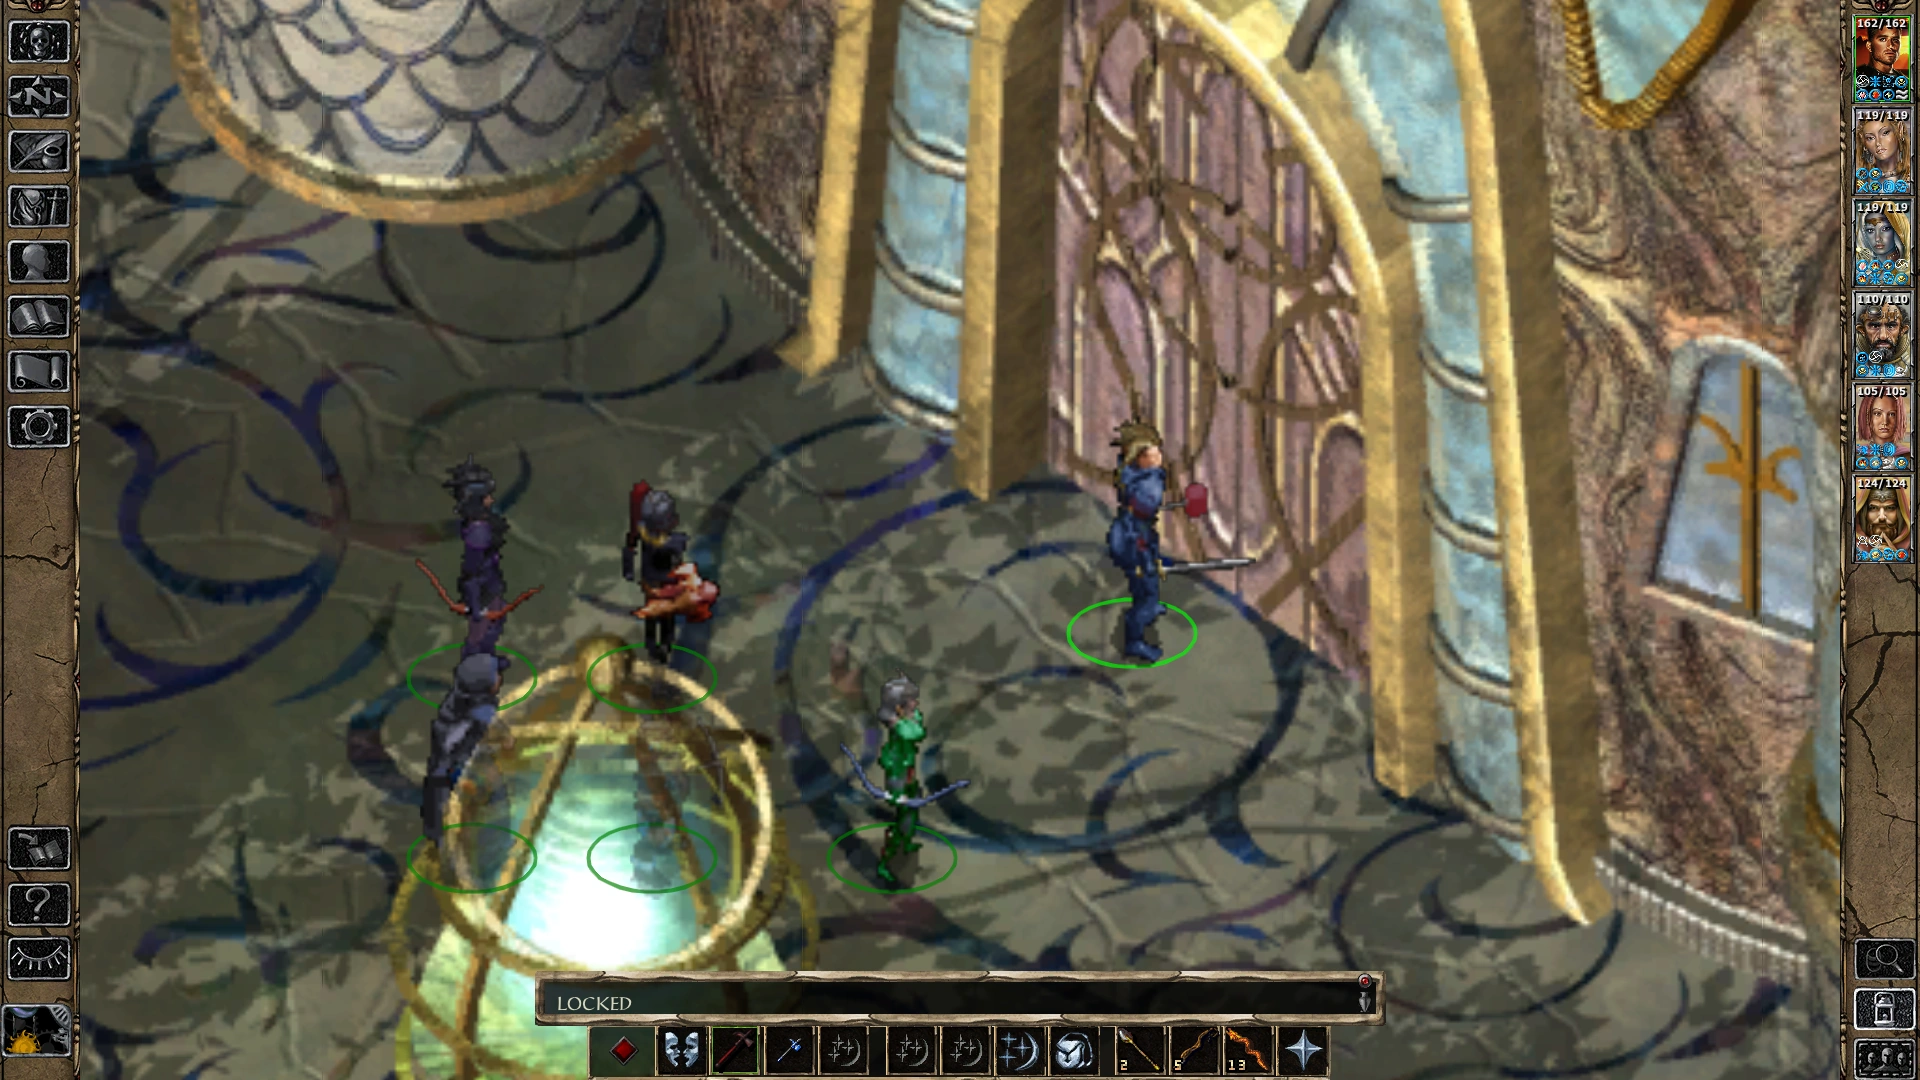
When the fiend is destroyed, any surviving elves make their way off the map. Attempting to open the palace doors will result in a text message reading "Locked" unless the party has already awakened the Avatar of Rillifane earlier, who unseals the doorway.
Enter the Palace[]
When ready to do so, the party can press on with its mission to find Queen Ellesime, The Tree of Life, and Irenicus.
The path to this goal lies within. See The Palace page for what lies ahead.
Creatures[]
Enemies (alphabetical order)[]
- Adsaan {indoors)
- Adamantite Golem
- Air Elemental
- Balor
- Clay Golem
- Glabrezu (indoors)
- Iron Golem
- Sand Golem
- Stone Golem
- Maharajah
- Nabassu
- Raamilat
- Rajah
- Rakshasa
- Skeleton Warrior
- Suneer (indoors)
- Troll
NPCs (alphabetical order)[]
- Avatar of Rillifane {indoors)
- Boy (Elf)
- Captain Aduo'on
- Elhan - Suldanessellar
- Ellesime (below the Palace)
- Elven Archer
- Elven Battle Mage
- Elven Spirit
- Elven Warrior (General)
- Elven Warrior
- Girl (Elf)
- Priestess Demin (indoors)
- Reirra
- Wounded Elf
Treasure[]
House of the Horn[]
- Stone Horn
- Cloak of Elvenkind
- Bolt of Lightning (×40)
- Dart +1 (×20)
- Dart of Wounding (×20)
- Throwing Dagger (×60)
- Throwing Axe (×30)
Adsaan[]
Demin's House[]
- Absolute Immunity scroll
- Bolt +1 (×40)
- Bolt +2 (×40)
- Arrow +1 (×80)
- Arrow of Biting (×40)
- Dart of Stunning (×40)
- Bullet +2 (×40)
The Priest's House[]
The House of the Talisman[]
The House of the Moon[]
The Harpist's House[]
Black Dragon[]
Containers[]
- There is one hidden container in the city. A Random treasure is placed within. (
2158.1533)
Gallery[]
Mod content[]
 This section is about unofficial content that is only available via fan-made mods.
The Sword Coast Stratagems mod makes changes to almost all creatures found in this area. From new AI scripts, potion usage, to weapon proficiencies and fighting styles. Spell casters and creatures with innate abilities have revisions, including some with assigned kits, new spell books, and prepared sequencers and triggers.
The player's game difficulty selection AND the PC's total accrued experience points both influence the randomly spawned groups of Golems and Rakshasas in the city, differing in the tiers, numbers, and content of the enemy groups from those found the unmodified game. Instead of only four different group compositions, now there are seven.
Mod gallery[]
- Portraits from Portraits Portraits Everywhere
")
")
")
")
")
")
")
")
")
")
")
")
")
Sources & references[]
- Wiki editor playtesting, unmodded and modded content, BG2EE only.
| Forest of Tethir |
Elven Temple at Underdark Exit • Small Teeth Pass • North Forest • Forest of Tethir • Suldanessellar |