This is the final level of the dungeon below the tower. It consists of various rooms and a large, multi-chambered cavern. The primary objective of this level is to gain understanding about Durlag's predicament and why he still haunts this place, long after his demise. The secondary objective is gain access to the warded room that leads to the showdown with the Demon Knight.
Durlag's Specter[]
You enter this level into a short hallway where the specter of Durlag is standing. He will immediately speak to you upon sight, impressed that you have been able to make it this far through the labyrinth of dungeons while informing you that there is still some things you must "understand" in order to complete the level and advance to confront the evil which has invaded the tower.
| “ | Am I... Durlag? You have cause to wonder... you have seen traps and illusions and phantoms... but the spirit of Durlag has long since passed... to whatever fate the dark veil holds... this place... this place is his fear... his anger... his torment. You wish to conquer this place? You will have to understand what created it... remember well what you have already seen... or leave now and live life long and natural... three paths lead away... all must be taken... | ” |
There is no defined manner in which to explore this dungeon level and the following descriptions about what will be confronted are not presented in any type of order.
Bottomless Pit Room and Pain[]
When you enter this level the first door you see is one of two entrances to the bottomless pit room. Unlocking the door will reveal a stone bridge over a swirling pool of lava. Cross the bridge and follow the corridor around to a large chamber with a big pit in the center of it. Be careful to avoid the trap (Disarm: 70) at the entrance of the chamber. There is another trap (Disarm: 60) in front of the only door in the chamber. Both are web traps which can be very inconvenient for your healers when dealing with venomous Ettercaps, Phase Spiders, Sword Spiders, plus an Astral Phase Spider.
Exploring the room further you'll notice a small alcove that contains a stone golem. Talk to it and it will pose one of three questions, the first of which can vary from game to game. Failing to answer this first question correctly results in a fiery response from the golem. Should you answer correctly, it will pose two more questions. Answering either of these incorrectly doesn't result in punishment, but it does begin the process all over again.
| “ | Questions have I for you. None but kin of clan may pass. State your knowledge of the history. Answer true and the way is clear; answer false and feel the sorrow. There is no second chance, neither for true nor false. Do you wish to answer now? | ” |
— Stone Golem | ||
The answer to the first question is either:
- Kiel is the elder son of Durlag.
- Fuernebol is the younger son of Durlag.
- Islanne is the name of the mother of the sons.
- The second name of Durlag is Trollkiller. (2nd question answer)
- The second name of Bolhur is ThunderAxe. (3rd question answer)
- The second name of Durlag is Trollkiller. (2nd question answer)
Once you've answered the three questions correctly, the golem will give you a riddled response and the party will be teleported to a separate area known as the compass room.
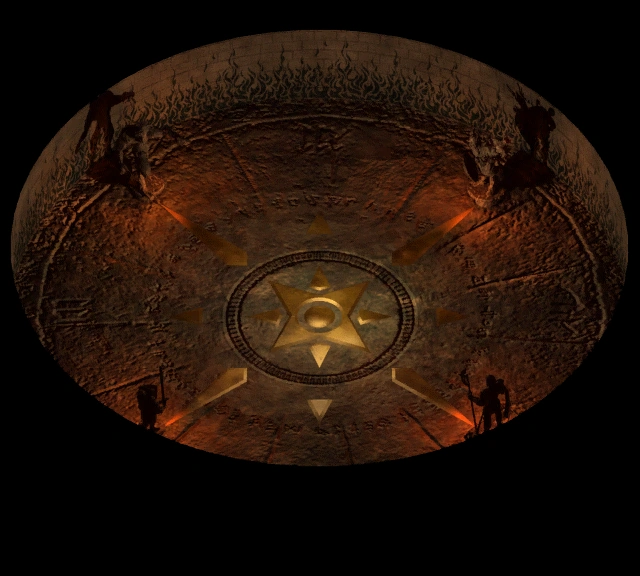
Compass Room (AR0515)[]

Compass Room
Inside this circular room are four stone golems. Every time you are teleported here you'll have to answer a riddle. Answering correctly is the only way to leave the room and return to labyrinth level 4. Clues to the answer of each riddle come from talking with all four golems and what you've learned while exploring the first three dungeon levels below the tower.
The four stone golems represent the past inhabitants and events of the tower. Starting at the top left and moving counterclockwise they are: the doppelganger invaders, Durlag's friends and family, the builders who rebuilt the tower after the invaders were destroyed, and Durlag himself.
The first three will tell their stories and provide clues to the riddle that Durlag's golem will ask. Answering incorrectly will fill the room with a Cloudkill spell, but you are also able to choose not to answer immediately if you need to question the other golems again. However, they’ll just repeat what they told you before. Each time you answer the riddle correctly you will be teleported back to the hallway near Durlag's specter. If you speak with him all he’ll say is:
| “ | You have found the room that gives direction, but are not done yet... The way is not yet clear... understand the paths that lead away... and you will return... | ” |
Below are the three correct answers to each riddle.
- Alcove Stone Golem answer: The pain came from the doppelgangers (west), it stabbed home with the killing of families (south), it took root with the trapping of the tower (east), and resides in Durlag now (north).
- Secret Throne Room answer: Durlag ultimately blames himself.
- Rune Carpet Room answer: "It began with you and your need for a home. It grew with your clan, as you feared losing them. It manifested in the invaders that came, but you feared their coming already. It became your home, where it keeps you safe."
Grael, The Compass Wardstone, and Blame[]
Slime Caverns[]
Should you choose to continue exploring the hallway where you entered this level you’ll find a long passageway that connects to the end of the hallway. As you explore the passageway you’ll come across a pair of secret doors. The doors lead to bioluminescent caverns full of slime which Durlag subsisted on to survive in his madness. The caverns contain no traps other than pools of slime. It's best to avoid standing in the slime for too long as it deals 2 pts of acid damage per second, which will cause minimal damage, as you attempt to loot certain areas within the caverns. Enemies within these caverns include Crypt Crawlers, Greater Ghouls, and Ghasts, so prepare to be held a lot. Lit pools of slime contain loot and gold, and keep an eye out for secret doors as you explore.
As you explore the area you will eventually come across Grael, a greater ghoul who will talk to you and provide more context to this area. When the dialogue finishes he’ll turn hostile. Be sure to take the Compass Wardstone off his corpse.
While exploring the caverns you’ll come across a secret door that opens to a short passageway leading into a small bedroom which is, most likely, Durlag’s final resting spot. Be sure to loot the trapped and locked chest in this room for The Burning Earth and a Staff of Striking. Look for a second secret door and explore some trapped (Disarm: 70) passageways, one of which leads to a warded door that requires the Compass Wardstone to open. Through this door is Durlag's secret throne room.
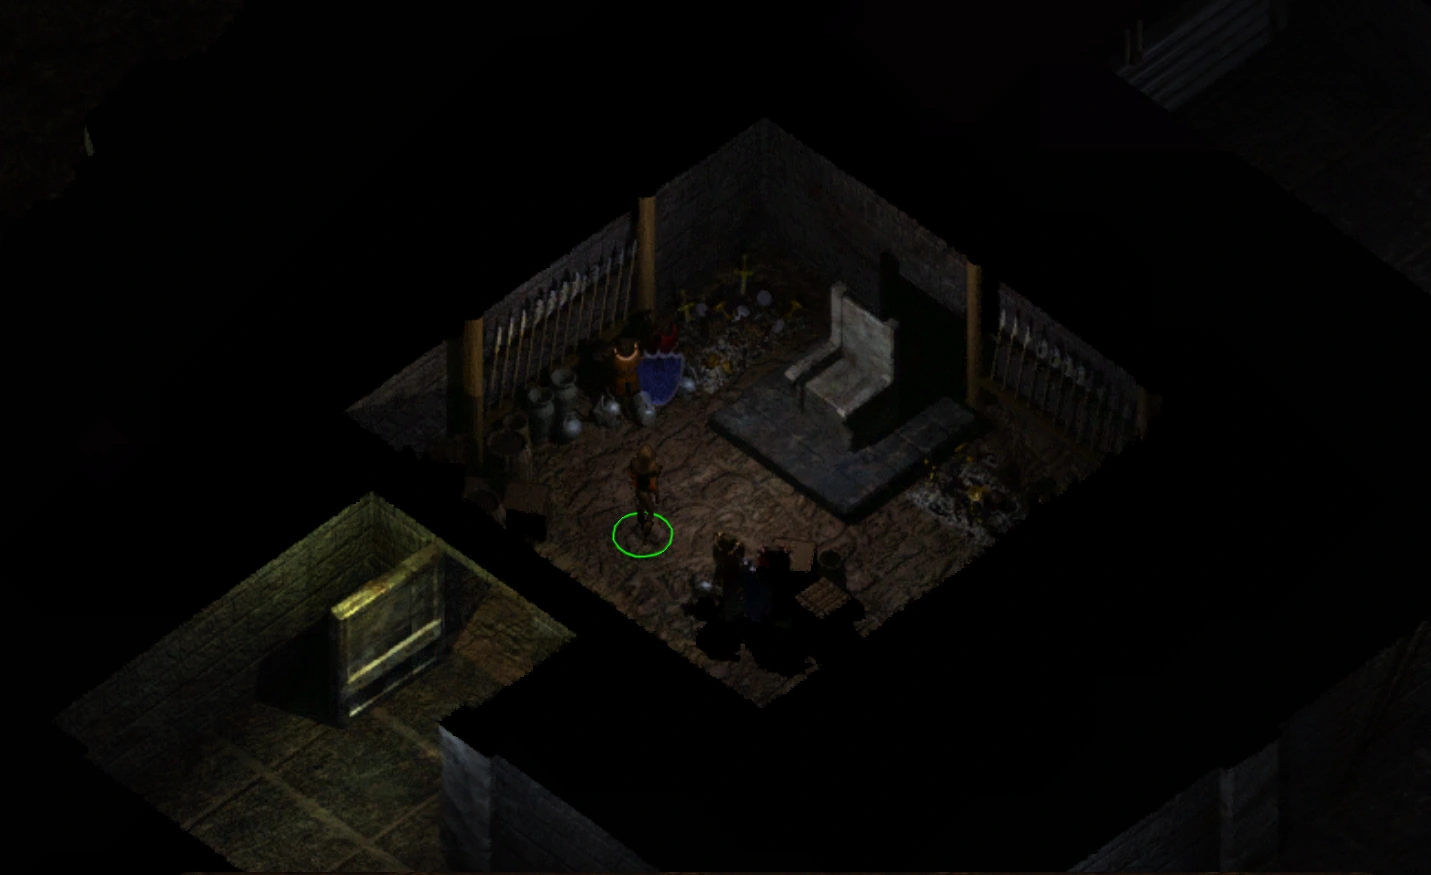

Durlag's Secret Throne Room
Secret Throne Room[]
Enter the throne room. The large pile of treasure next to the throne includes 13,950 ![]() and a ton of gems. Click on the throne and you will be teleported to the compass room where you will have to answer another riddle.
and a ton of gems. Click on the throne and you will be teleported to the compass room where you will have to answer another riddle.
Islanne, The Bone Wardstone, and Fear[]
Store Room[]
Following the passageway past the slime caverns leads to a store room and the specter of Islanne. You can talk to her and she will teleport you out of the tower if you so choose, and you can later return to this floor by re-entering one of the four elemental challenge rooms on level 3 (see Bugs). Exploring this room will reveal a secret, warded door, an unlocked door, and a short passageway that leads to another unlocked door.
Forge Room[]
Opening the unlocked door reveals a short passageway that leads to the forge room. Inside the room are two Helmed Horrors. Loot the trapped kiln in the center of the room for the Bone Wardstone. Go back to the short passageway in the store room and enter the rune carpet room.
Rune Carpet Room[]
Upon entering the room you will notice a brown rug on the floor that extends almost the entire width of the room. The runes on the carpet are written in the dwarven script Dethek and read "none but the dead". Two stone statues on either end will warn you against crossing it, and doing so would unleash upon the party some very nasty effects. However, it is possible to walk around the carpet.
On the other side of the rug are three bed-like tombs, similar to what you saw in Kiel’s room on the previous level. These represent the final resting places for Islanne, Fuernebol, and Durlag’s father, Bolhur Thunderaxe. The tomb nearest the carpet is Fuernebol’s and the trapped and locked chest contains his possessions including the Krotan's Skullcrusher mace and Karajah's Life and Death leather armor . The middle tomb is Islanne’s and the trapped and locked chest next to it contains her possessions including Pellan's Shield and Arla's Dragonbane sling. The third tomb is Bolhur’s and clicking on it will teleport you back to the compass room and another riddle.
Exiting the room through the arch doorway on the opposite side of the room will reveal a passage way the leads back to the bottomless pit room and to the machine room.
Machine Room[]
Inside this room you will find a machine where you can use the Bone Wardstone to disengage the silent trap for safe passage across the rune carpet.
After you answer the third riddle correctly and are teleported back to the hallway, speak with Durlag’s specter. This time he’ll ask you to defeat the evil in the tower. Agree and follow him back to the store room and the warded door, which he’ll open and then disappear for good.
The Final Battle[]
The Last Throne Room[]
Enter the room and Clair De'Lain will hail you. She warns you about the Demon Knight and provides a possible way to defeat it by uncovering his magical Mirror of Opposition. The trapped and locked chest in this room contains a Cloak of the Shield.
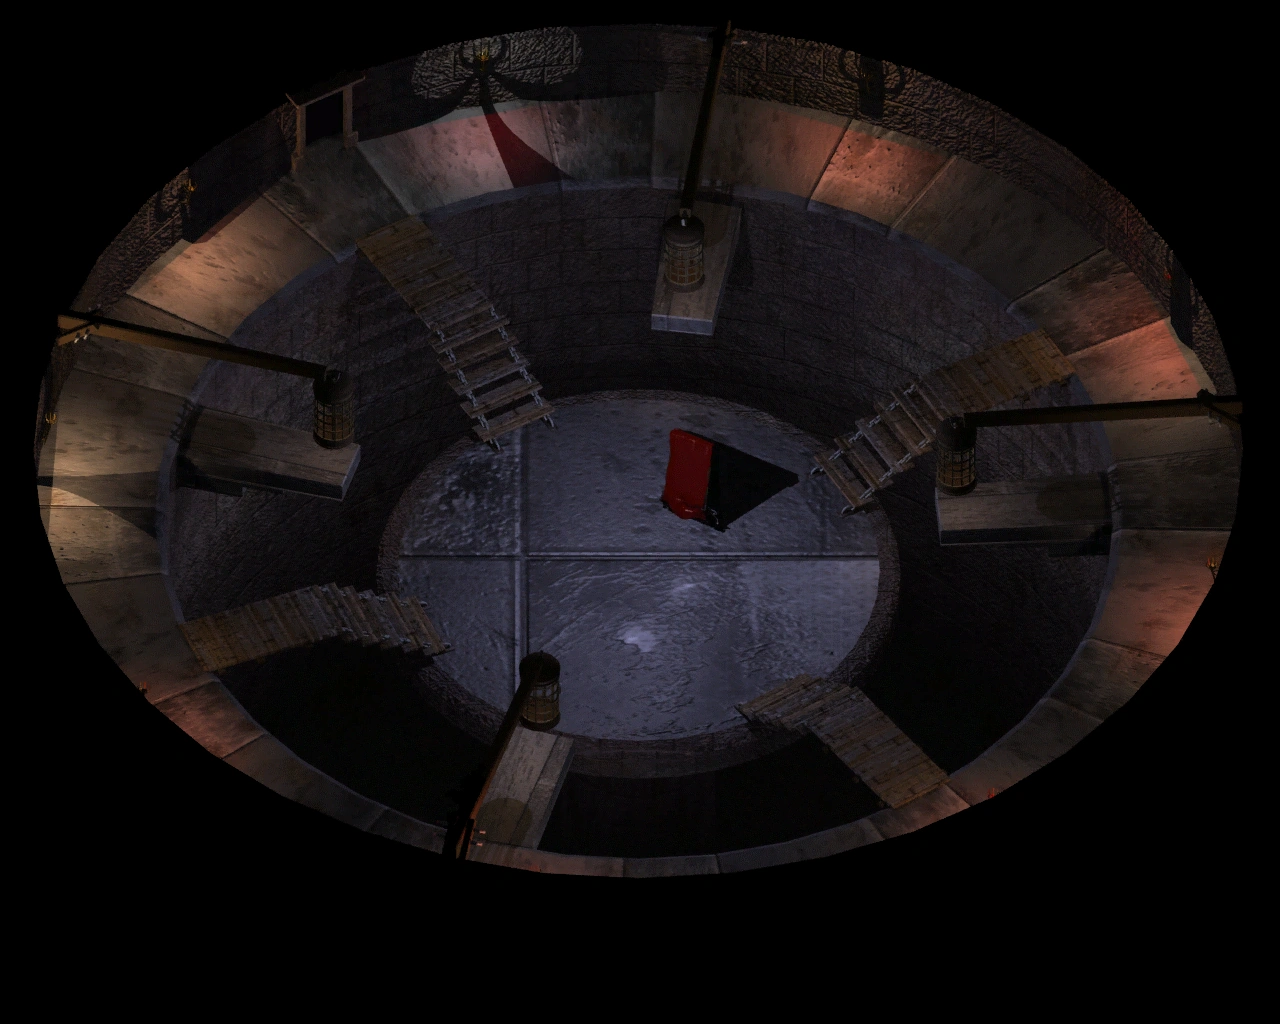
Demon Knight Chamber (AR0516)[]

Demon Knight Chamber
Enter into the Demon Knight's chamber where he will address you and taunt you. You can attempt to kill him in a one-on-six fight, which may not be too difficult for a maximum level party pre-buffed with all available buff spells like Bless, Chant, Haste, and others. You can also try to attack the Mirror of Opposition next to the Demon Knight as soon as possible. The mirror will duplicate everyone in its gaze creating Mirror Fiends. The duplicates of your party members are hostile and will attack the party whereas the duplicate of the Demon Knight will attack him. For the most experience you should ensure you kill the real Demon Knight first. Prepare your party with enchantments and consider a mix of ranged and melee attacks. Be warned that the Demon Knight may strip characters of their enchantments with his spells.
Conclusion[]
After slaying the Demon Knight, take the Soultaker Dagger ![]() Baldur's Gate I
Baldur's Gate I
Classic & Enhanced
This icon indicates content from all games of the 1st Baldur's Gate instalment – all editions and expansions. This may include The Black Pits. and Helmet of Opposite Alignment ![]() Baldur's Gate:
Baldur's Gate:
Enhanced Edition (2012)
This icon indicates content from the Baldur's Gate: Enhanced Edition campaign. from its corpse and talk to Dalton on the northeast top of the landing. Return to the throne room and talk to Clair. She will tell you of her fear that the Demon Knight serves an even greater power and with that ominous statement will depart.
Go back to the store room and talk to Islanne, this time accepting her offer to be teleported out of the tower, and close out the tormented history of Durlag's Tower once and for all. And with the dagger in your inventory, go to Ulgoth's Beard to finally bring your long Recovering "Soultaker" quest to its final conclusion.
Treasure[]
Durlag's Tower | |
|---|---|
| Entrance | |
| Tower | |
| Dungeon | |