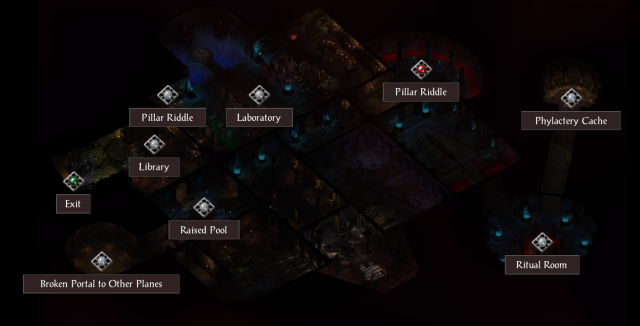

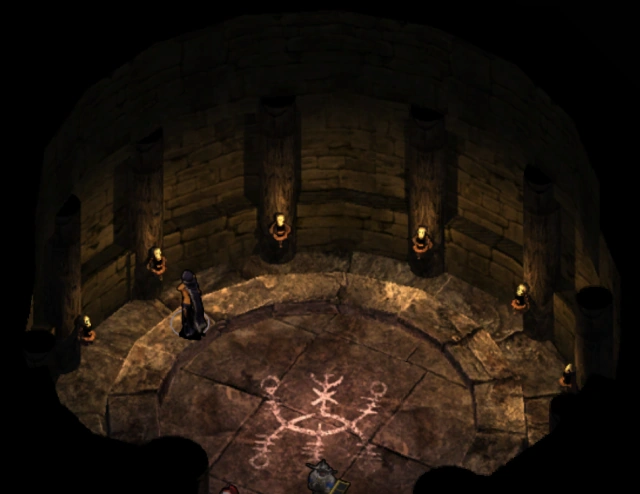
Entrance
Lich Outpost, 3000 xp upon entering. The white, “Pillar Riddle” marker should read, “Failed Phylactery.”
Upon entering the repository we discover a small library with books strewn everywhere. Browsing the selection of tomes we notice four particular passages of interest.
- Tome of Ancient Knowledge
- Volume MCXII of the History of the Netherese Empire
- A Philosophical Treatise on the Nature of Lichdom
- Mortal to Lich Notes
Liches…we wouldn’t be wrong to turn back now and tell Brother Deepvein that Gurn Coldhearth’s remains are beyond our reach. However, our sense of adventure and the ability to reload at will always take us at least one step further…
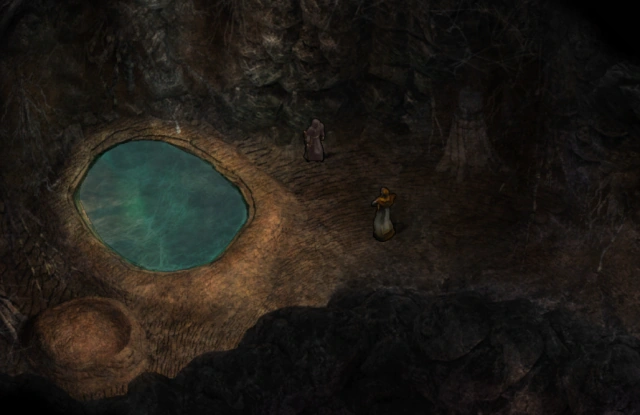
Raised Pool
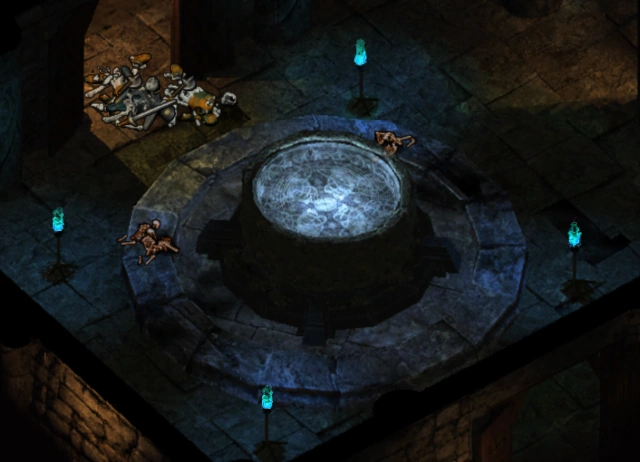
Find the scrying pool’s three missing Silver Scepters and place them in their holders by interacting with the pool (arrowed-circle icon). The raised pool clears and allows us to choose one of three visions (3000 xp).
- Room south of scrying pool, on table
- Sarcophagus room
- Laboratory, on table
Choose a vision (500 quest xp / each)
- A remote view of Imoen
- A remote view of Caelar Argent
- A remote view of the Hooded Man


The Essence of Clarity allows us to view one additional vision. By searching the repository, we can find two more vials.
- Sarcophagus room, loot from undead
- Same room containing The Uncursed Staff +1
- Laboratory, trapped shelf
Guarding the laboratory is a Bronze Sentry carrying the Sword of Troll Decapitation +1.
Laboratory *Dwarves of Dumathoin*

| 1 | 2 | 3 | Step 4 | 5 | Destroy the Phylactery | Report back |
| Gurn Coldhearth’s Offer | ||||||
Step 4:
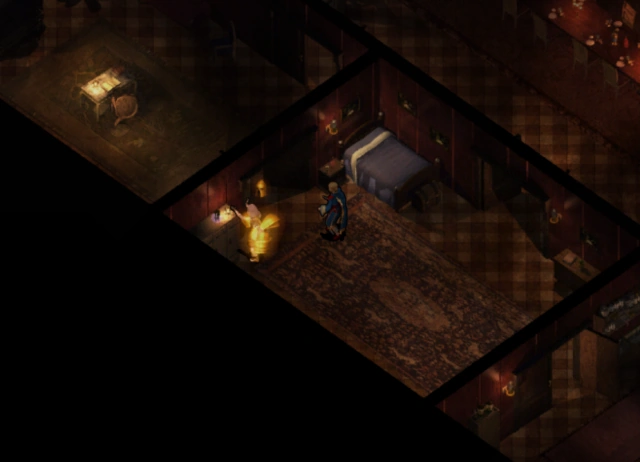
In the laboratory Cleric’s Vestments and a Chest Key can be found, once belonging to Gurn Coldhearth. The key unlocks the chest at the dwarves abandoned camp in the dwarven dig site. Inside the chest are Coldhearth’s journals and letters which reveal the insidious plot that brought the dwarves to this dig site. Speak with Deepvein (The Secret Revealed).


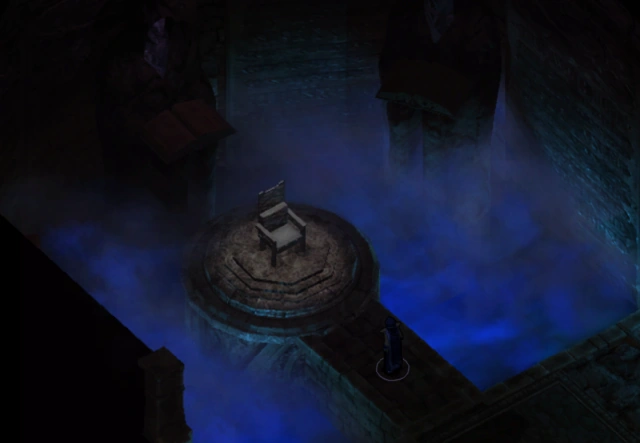
Also in the laboratory is a throne. Pulling its lever unlocks the door to the area west of the sarcophagus room. It appears this is an old collapse entrance and the reason the dwarves needed to locate another entry point.

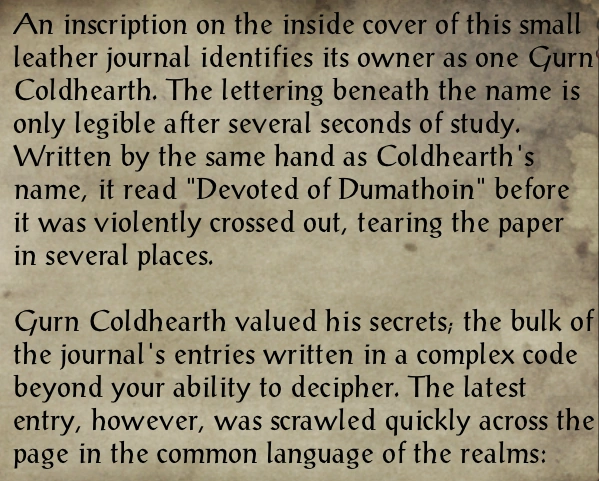
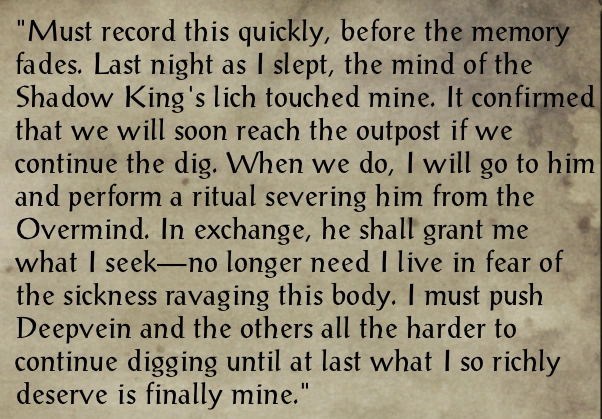
With the Chest Key in our possession, we can revisit the abandoned dwarven campsite and unlock Gurn Coldhearth’s chest. We discover a parchment and Coldhearth’s journal. He alludes to a sickness ravaging his body. Could this be why he’s in such a hurry to become undead?

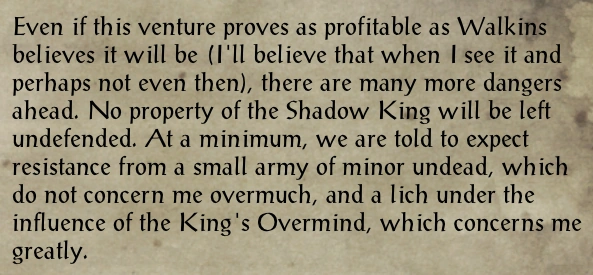

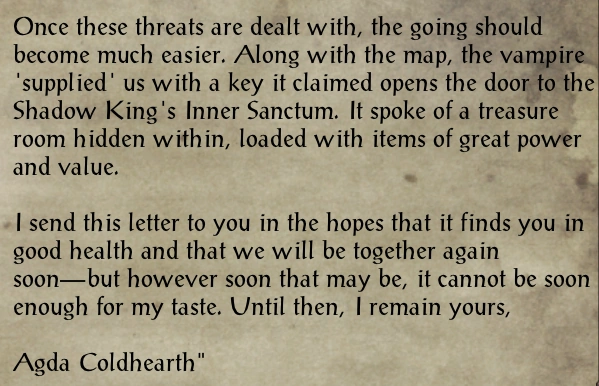


With parchment and journal in hand, we can report back to Brother Deepvein. He will expect proof of our claim that Gurn Coldhearh used his friends to make a clandestine deal into lichdom. If we refuse he will turn hostile to obtain the evidence. If we saved Semahl, he will vouch for us and tell about dark things Coldhearth was doing when he thought no one looking.
If we pick a dialogue option besides, “I’ll ask him when I see him” we will have three choices.
- Agree to help the dwarves
- Request a 500 gold payment
- Refuse to aide them
Deepvein will ask us to face Coldhearth and put an end to him. He will give us The Secret Revealed. This is a quick slot item with three charges and our only prayer at defeating the lich. Should we run out of charges, Deepvein can restore them.
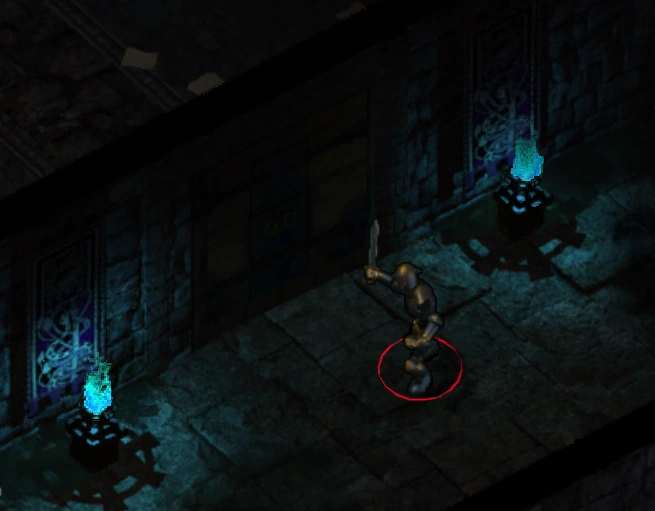
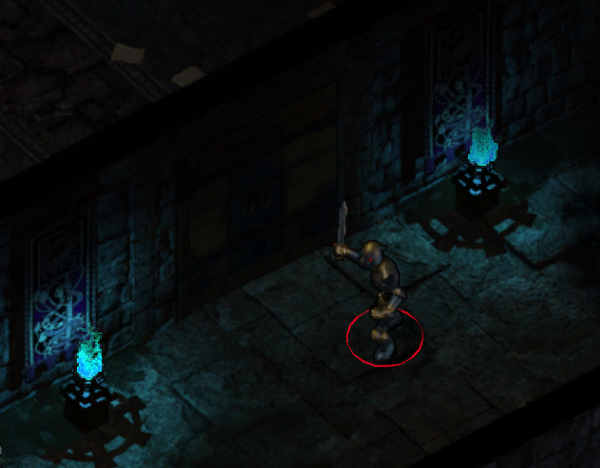
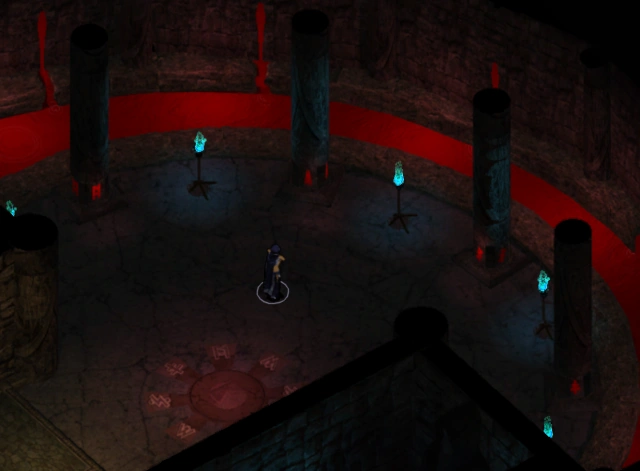
Pillar Riddle *Dwarves of Dumathoin*

| 1 | 2 | 3 | 4 | Step 5 | Destroy the Phylactery | Report back |
| Gurn Coldhearth’s Offer | ||||||
Step 5:
Activate in the following order. Selecting the pillars in the incorrect order will spawn monsters.
- Winter (Snowflake)
- Autumn (Cracked and fragmenting leaf)
- Summer (Shining sun)
- Spring (Leaf)
The door near the pillars will now be accessible.
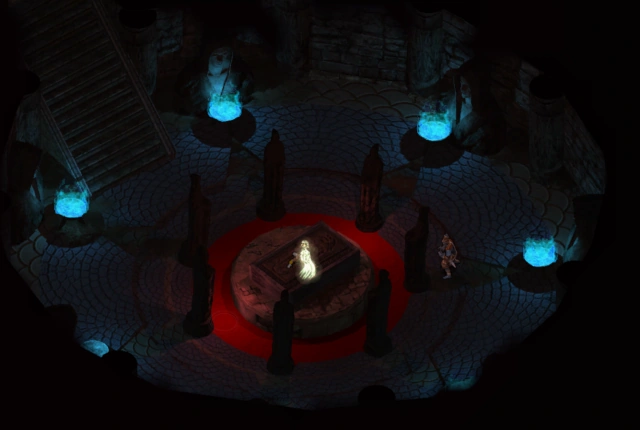
Ritual Room *Dwarves of Dumathoin*
Destroy the Phylactery


| 1 | 2 | 3 | 4 | 5 | Destroy the Phylactery | Report back |
| Gurn Coldhearth’s Offer | ||||||
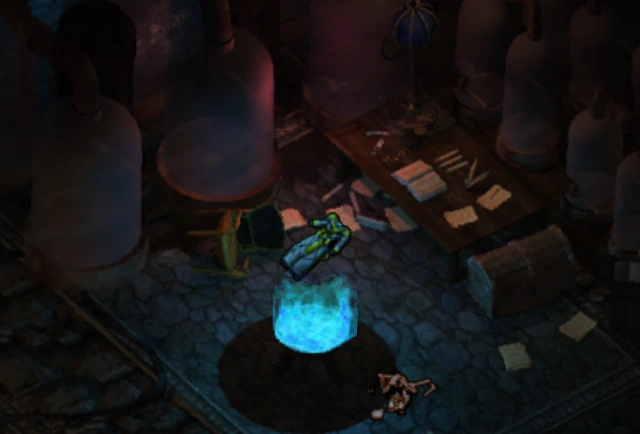
Destroy the Phylactery:
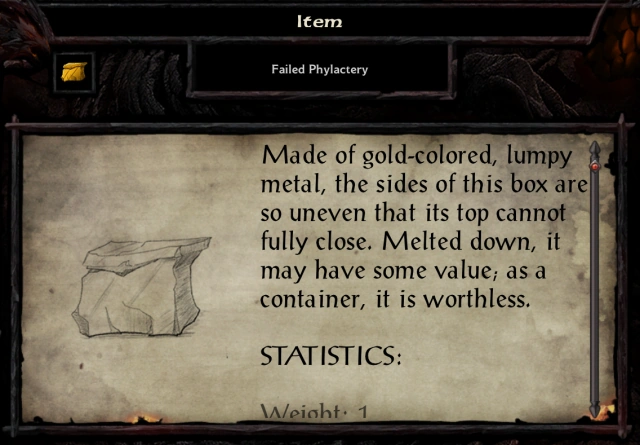
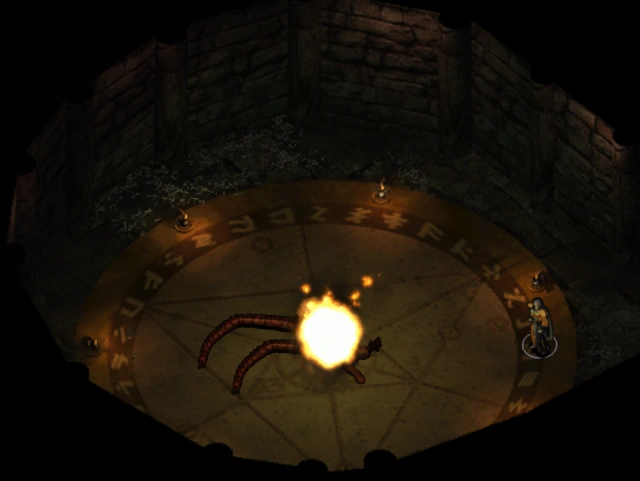
Take the Ancient Key from Coldhearth’s body and open the false wall. His phylactery is the second one in from the left.

Upon interacting with the correct phylactery we get our clue on how to destroy it.
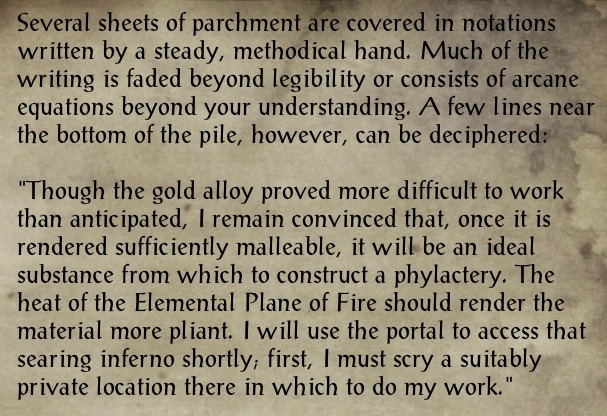
Though seemingly composed of malleable precious metals, this phylactery resists all efforts to damage it. Destroying it may require power beyond the Prime Material Plane.

With Lich Coldhearth’s soul still intact inside the phylactery, it won’t be long before he is hot on our heels again. Take the phylactery to the Fire Plane portal on the western side of the dungeon to destroy Coldhearth for good.

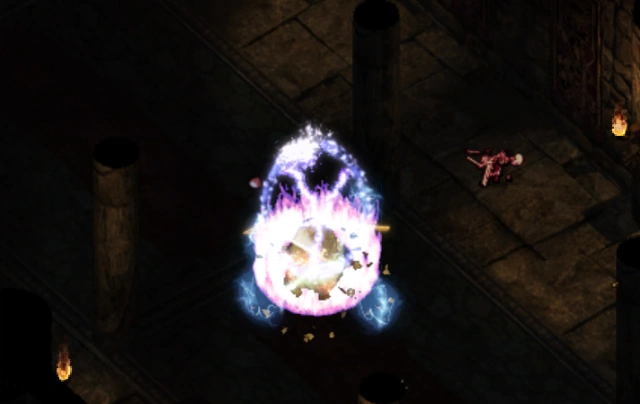
An image of a fiery landscape appears, accompanied by a blast of unearthly heat. You realize that it was in such a place as this that the Coldhearth lich’s phylactery was formed.
You cast the golden box down into the flames. As it falls, the metal turns molten, it’s surface bubbling and sloughing off. The soul within screams in rage and fear as the fire consumes it.
- Reward: Emerald, King’s Tears, 3000 quest xp, 3000 xp & 22000 xp
Return to the dwarven clerics once Lich Coldhearth has been dispatched. (Helm of Dumathoin). At this point, we can ask the clerics to aid us in our quest against the Argent Crusade. Brother Deepvein stiffed me when previously I asked for 500 gold to do the deed. However, he did give me a scroll.
Gurn Coldhearth's Offer
| 1 | 2 | 3 | 4 | 5 | Destroy the Phylactery | Report back |
| Gurn Coldhearth's Offer | ||||||
Gurn Coldhearth's Offer:
If we tell the lich we came seeking power and wealth he will strike a deal with us. We can choose to help the lich and retrieve the five “Keeper of Secrets” amulets the clerics wear, all located in various parts of the first level. For this, Coldhearth promises an item of great value. If we return with fewer than five amulets he will turn hostile.
- Demand the item (Dread Hammer +2)
- Be slightly more polite and Coldhearth will agree to aid us in the fight against the Argent Crusade
|
<< | Interlude | Chapter 7 | Chapter 8 | Chapter 9 | Chapter 10 | Chapter 11 | Chapter 12 | Chapter 13